ご注意:あなたは前提となるガイドを編集しています。あなたが行なう変更は、この手順を含むガイド全体に反映されます。
手順 10を翻訳中
手順10


-
The screws holding in the drive were deep within the casing.
-
Once those screws were removed, the entire case could be lifted off.
-
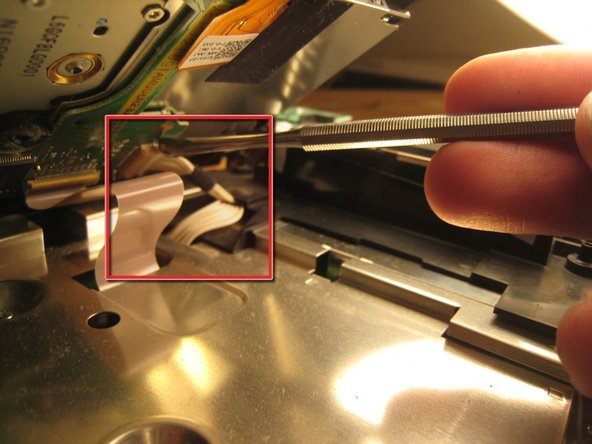
This wire slid out from its horizontal slot. Once it was detached, the ribbon cable came out as well.
クリエイティブコモンズのオープンソース著作権のもと、あなたの投稿は著作権の対象となります。