ご注意:あなたは前提となるガイドを編集しています。あなたが行なう変更は、この手順を含むガイド全体に反映されます。
手順 9を翻訳中
手順9


-
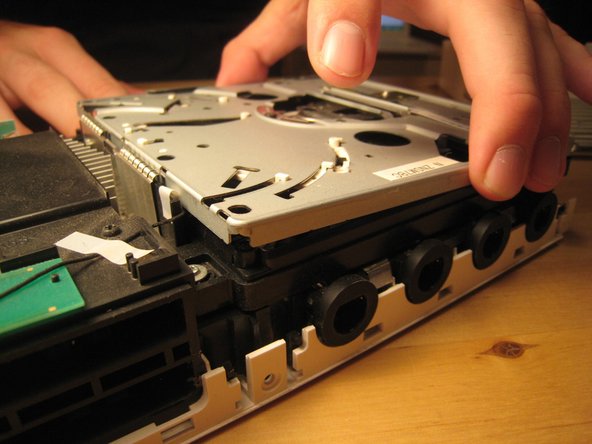
We lifted up the cover of the optical drive by removing the six Phillips #00 screws. These are all labeled on the previous image.
-
There are a ton of parts in the optical drive, but there is nothing very fancy about this drive compared to other slot-loading drives, so I didn't take it apart completely. There are also a ton of gears and levers that I did not want to deal with.
クリエイティブコモンズのオープンソース著作権のもと、あなたの投稿は著作権の対象となります。