手順 11を翻訳中
手順11


-
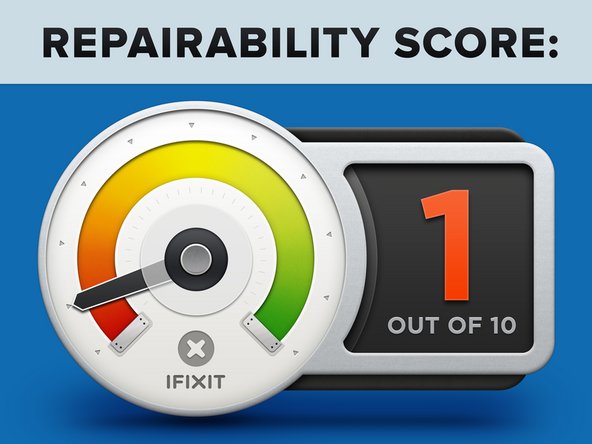
Retina Macbook 2016 Repairability Score: 1 out of 10 (10 is the easiest to repair)
-
Those pesky tri-wing screws are gone, replaced with lovely standard Phillips screws—but tamper-evident hinge screws make you feel like a hoodlum for repairing your own machine.
-
The processor, RAM, and flash memory are still soldered to the logic board.
-
The battery assembly remains entirely, and very solidly, glued into the lower case.
-
The Retina display is still a fused unit with no separate, protective glass. If the display needs replacing, it'll cost a pretty penny.
クリエイティブコモンズのオープンソース著作権のもと、あなたの投稿は著作権の対象となります。