メインコンテンツにスキップ

Sony Handycam DCR-SR68 LCD Screen Replacement

手順 16を翻訳中

英語
イタリア語
手順16
Sony Handycam DCR-SR68 LCD Screen Replacement: 手順 0、 3の画像 1 Sony Handycam DCR-SR68 LCD Screen Replacement: 手順 0、 3の画像 2 Sony Handycam DCR-SR68 LCD Screen Replacement: 手順 0、 3の画像 3
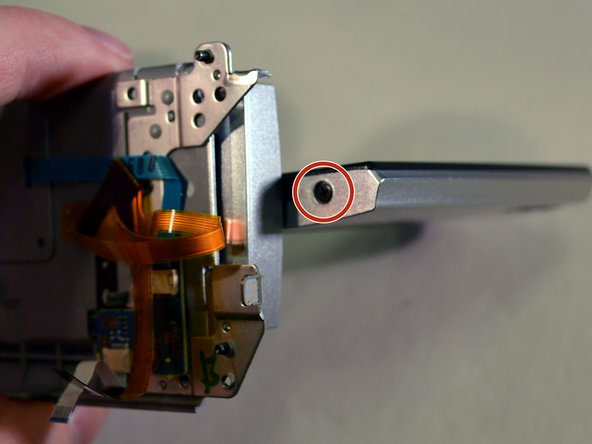
  • Open the screen and rotate it 90 degrees until the two black screws are exposed.

  • Remove the two black 3mm Philips screws.

ここに翻訳を挿入する

ここに翻訳を挿入する

クリエイティブコモンズのオープンソース著作権のもと、あなたの投稿は著作権の対象となります