手順 16を翻訳中


-
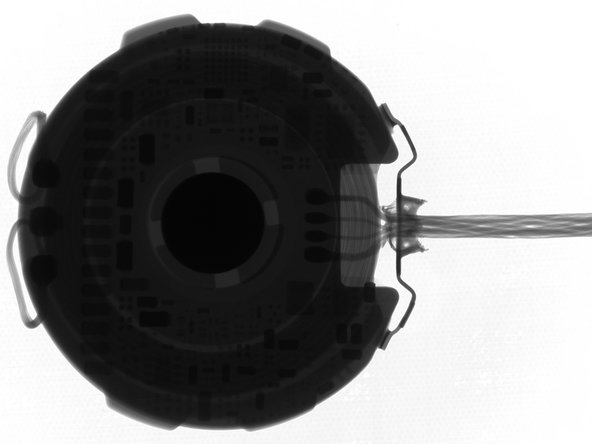
Fade to black... cue lights! Time to shine some illuminating rays on our next target, the inductive charger.
-
For example, in the first image we see a high-contrast silhouette of the charger's internals, nested in the haziness of the plastic outer case. And in the last image, the board-level components are visible.
-
X-ray fun fact: Power and current are adjustable. Lower power equals better resolution—and fewer frames per second. Creative Electron's X-ray machines do up to 60 FPS, but this was slower than that.
-
X-ray fun fact 2: The zoom level of the image is directly proportional to the distance between the tungsten sensor and the object. It's also inversely proportional to the distance between the object and the X-ray source.
クリエイティブコモンズのオープンソース著作権のもと、あなたの投稿は著作権の対象となります。