注意:あなたはさきほど閲覧しているガイドの前提となるページを編集しています。あなたが行った変更は、この手順を含むガイド全体に影響を与えます。
手順 3を翻訳中
手順3


-
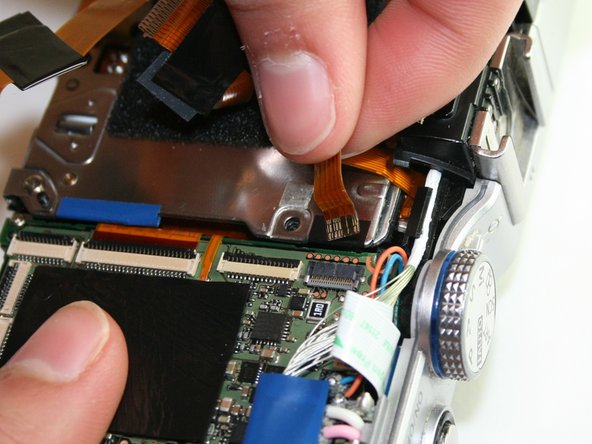
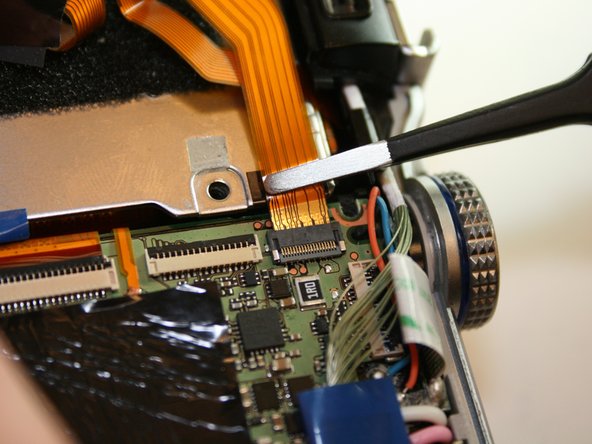
Unlike previous connectors, this cable has a light grey clip holding it in place on opposite side of the connector in regards where the ribbon is inserted. Flip it up and then using your fingers, gently pull the top ribbon cable out.
クリエイティブコモンズのオープンソース著作権のもと、あなたの投稿は著作権の対象となります。