手順 7を翻訳中
手順7

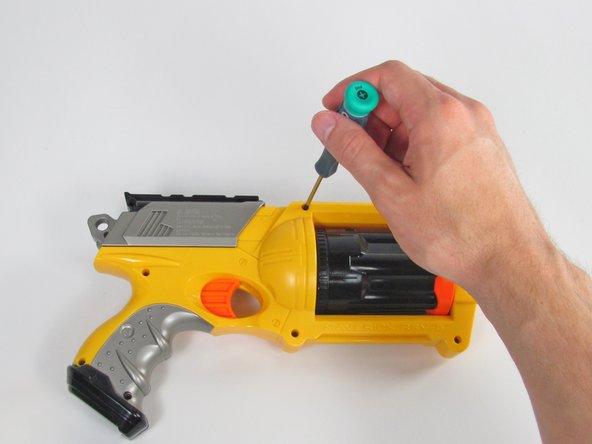


Practice Your Technique
-
Use your hands/tools in each shot to demonstrate the action being performed.
-
Shoot in a first-person perspective. Try to set up each shot so that it matches what your readers will see.
-
This first image isn't necessarily bad; the photo is well-lit, free of clutter, and the required action is clear—but the image is not from the reader's perspective.
-
The second image does all of that equally well, and also matches what the reader is likely to see.
クリエイティブコモンズのオープンソース著作権のもと、あなたの投稿は著作権の対象となります。