手順 1を翻訳中
手順1


-
Insert the edge of a plastic opening tool between the lower touchscreen and the lower LCD.
-
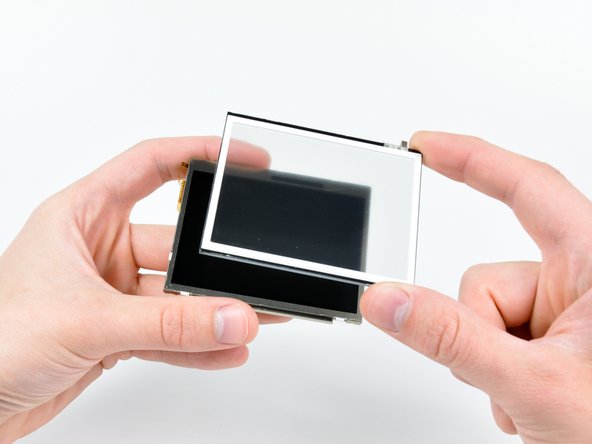
Carefully run the edge of the opening tool along the perimeter of the touchscreen to detach it from the lower LCD.
-
Remove the touchscreen from the lower LCD.
-
Lower LCD remains.
クリエイティブコモンズのオープンソース著作権のもと、あなたの投稿は著作権の対象となります。