注意:あなたは必要条件ガイドを編集しています。あなたが行なう変更は、この手順を含む全ての2個のガイドに反映されます。
手順 5を翻訳中
手順5
-
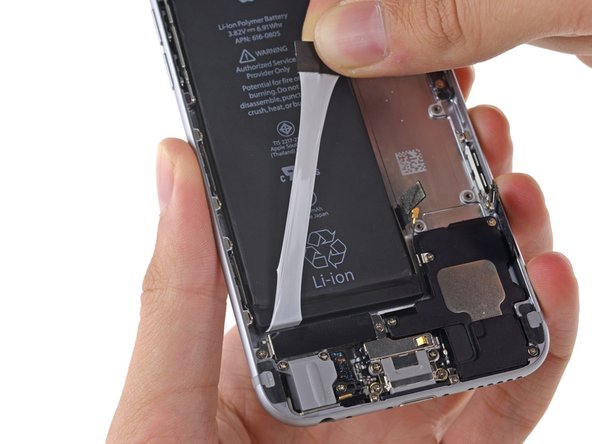
When you feel increased resistance from the adhesive strip, pull it gently around the lower left corner of the battery.
-
Continue pulling the adhesive tab upward and away from the left edge of the battery, allowing it to slowly slide out from between the battery and the rear case, until the strip comes free from the iPhone.
-
If you removed both adhesive strips successfully, skip the next two steps and continue on Step 46.
-
If either of the adhesive strips broke off underneath the battery and could not be retrieved, continue with the next step below.
クリエイティブコモンズのオープンソース著作権のもと、あなたの投稿は著作権の対象となります。