手順 5を翻訳中
手順5


-
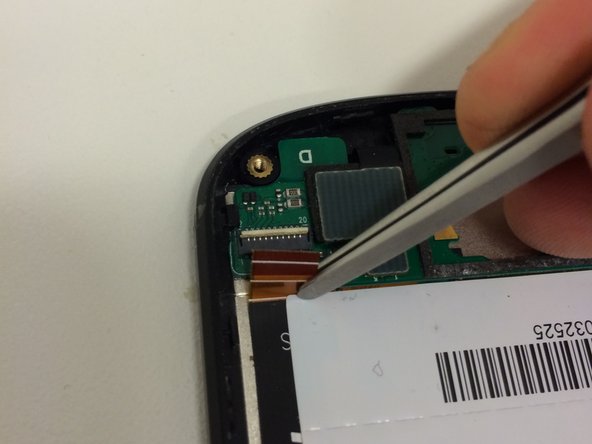
At the bottom, use a pair of tweezers to remove the yellow tape from the connector
-
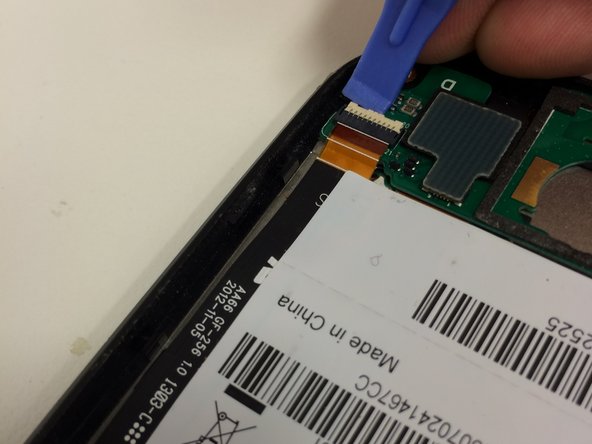
Use a plastic spudger to unlock
-
Pull the flexcable out carefully
クリエイティブコモンズのオープンソース著作権のもと、あなたの投稿は著作権の対象となります。