メインコンテンツにスキップ

Gateway MA6 Laptop Display Assembly Replacement

英語
日本語

手順 4を翻訳中

手順4
Gateway MA6 Laptop Display Assembly Replacement: 手順 0、 3の画像 1 Gateway MA6 Laptop Display Assembly Replacement: 手順 0、 3の画像 2 Gateway MA6 Laptop Display Assembly Replacement: 手順 0、 3の画像 3
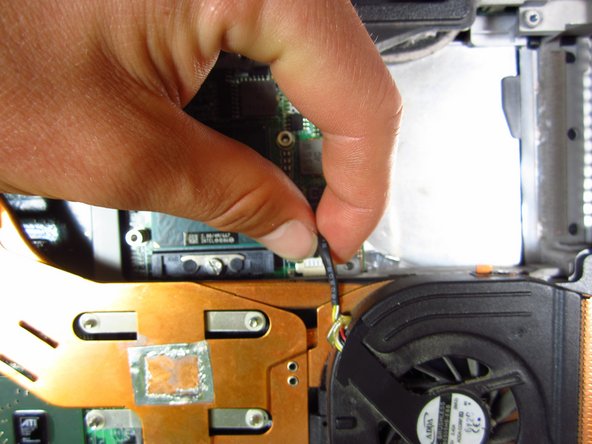
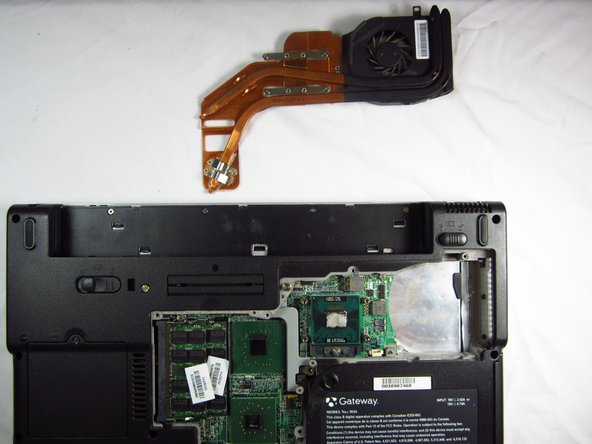
  • Carefully lift up on the cooling assembly to avoid ripping the wire attaching it to the computer, and lay it upside down.

  • Carefully grab the wire attached to the computer and pull away from the port.

  • The cooling fan is now safe for removal.

ここに翻訳を挿入する

ここに翻訳を挿入する

ここに翻訳を挿入する

クリエイティブコモンズのオープンソース著作権のもと、あなたの投稿は著作権の対象となります