メインコンテンツにスキップ

Instalación del cristal trasero del iPhone 16

注意:あなたは必要条件ガイドを編集しています。あなたが行なう変更は、この手順を含む全ての8個のガイドに反映されます。

英語
スペイン語

手順 11を翻訳中

手順11
iPhone 16 Back Glass Installation: 手順 0、 2の画像 1 iPhone 16 Back Glass Installation: 手順 0、 2の画像 2
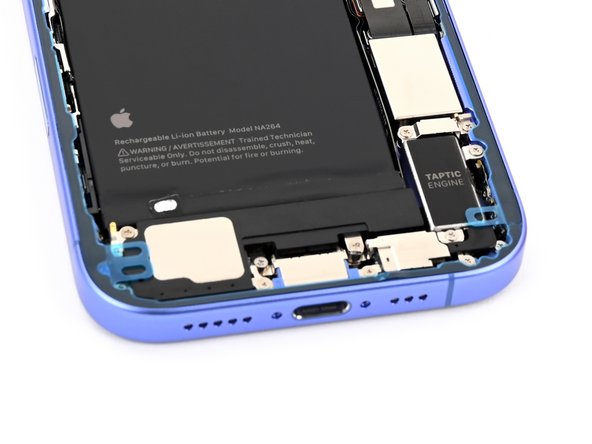
  • Once the top liner is removed, there should be three narrow liners on top of the adhesive with pull tabs near the bottom edge.

  • Your pull tabs may be in different positions.

  • If you don't see these pull tabs, you may have accidentally removed the thin liners in the previous step. If the adhesive is clean and properly aligned, you may proceed, just be careful not to touch anything to the exposed adhesive until you are ready to install the back glass.

Una vez que se retira el revestimiento superior, deben quedar tres revestimientos estrechos sobre el adhesivo con lengüetas para tirar cerca del borde inferior.

Las lengüetas para tirar pueden estar en diferentes posiciones.

Si no ves estas lengüetas para tirar, es posible que hayas quitado accidentalmente los revestimientos delgados en el paso anterior. Si el adhesivo está limpio y correctamente alineado, puedes continuar, solo ten cuidado de no tocar nada con el adhesivo expuesto hasta que esté listo para instalar el vidrio trasero.

クリエイティブコモンズのオープンソース著作権のもと、あなたの投稿は著作権の対象となります