メインコンテンツにスキップ

iPhone 16 Rückseitenglas einbauen

注意:あなたは必要条件ガイドを編集しています。あなたが行なう変更は、この手順を含む全ての8個のガイドに反映されます。

英語
ドイツ語

手順 11を翻訳中

手順11
iPhone 16 Back Glass Installation: 手順 0、 2の画像 1 iPhone 16 Back Glass Installation: 手順 0、 2の画像 2
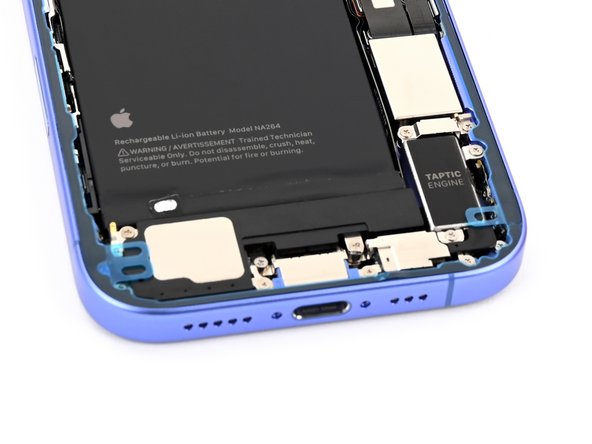
  • Once the top liner is removed, there should be three narrow liners on top of the adhesive with pull tabs near the bottom edge.

  • Your pull tabs may be in different positions.

  • If you don't see these pull tabs, you may have accidentally removed the thin liners in the previous step. If the adhesive is clean and properly aligned, you may proceed, just be careful not to touch anything to the exposed adhesive until you are ready to install the back glass.

Wenn die obere Schutzfolie entfernt ist, sollten drei schmale Streifen mit Zuglaschen nahe an der Unterkante oben auf dem Kleber sichtbar werden

Die Zuglaschen können auch an anderen Stellen sein.

Wenn du die Zuglaschen nicht siehst, hast du vielleicht versehentlich die dünnen Schutzfolien im vorherigen Schritt entfernt. Wenn der Kleber sauber ist und richtig sitzt, kannst du weiterarbeiten, musst aber aufpassen, dass du nicht die offenliegenden Klebeflächen berührst, bis das Rückseitenglas angebracht wird.

クリエイティブコモンズのオープンソース著作権のもと、あなたの投稿は著作権の対象となります