手順 3を翻訳中
手順3

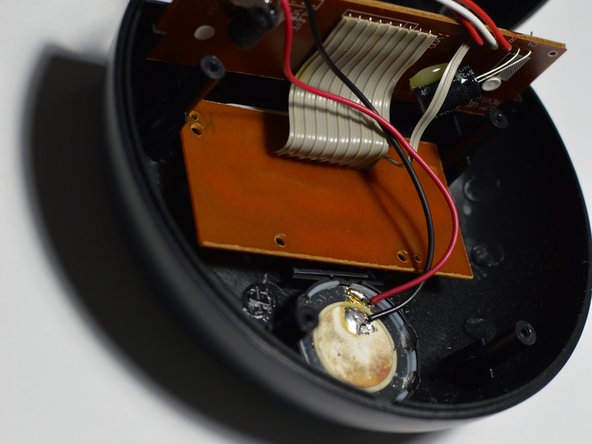
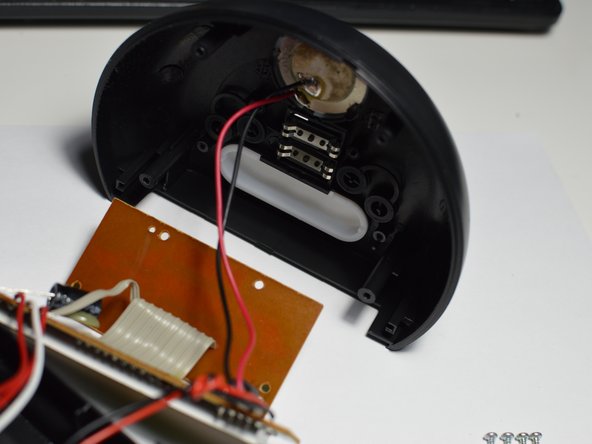


Remove top PCB
-
4 screws are removed to release the top PCB, the screen and top PCB can then be removed. The speaker is permanently installed in the top and cannot be removed without unsoldering it and removing the glue.
クリエイティブコモンズのオープンソース著作権のもと、あなたの投稿は著作権の対象となります。