メインコンテンツにスキップ

必要な工具と部品

この分解は修理ガイドでは ありません。 お持ちのAmazon Basics Alarm Clockを修理する際は、iFixitの修理ガイドをご利用ください。

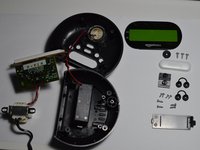
  1. Amazon Basics Alarm Clock Teardown, Overview: 手順 1、 3の画像 1 Amazon Basics Alarm Clock Teardown, Overview: 手順 1、 3の画像 2 Amazon Basics Alarm Clock Teardown, Overview: 手順 1、 3の画像 3
    • Remove the 9 volt battery and unplug the alarm clock

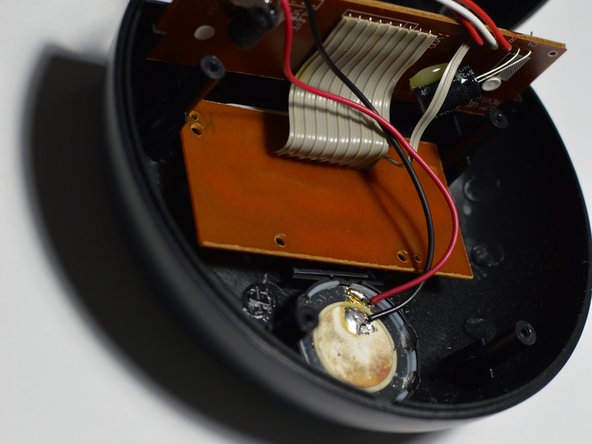
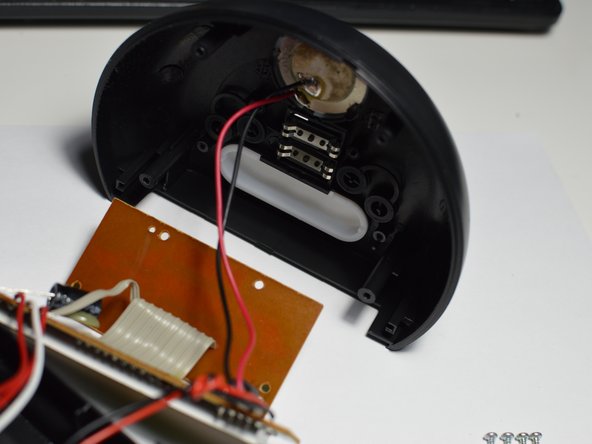
  2. Amazon Basics Alarm Clock Teardown, Opening Case: 手順 2、 2の画像 1 Amazon Basics Alarm Clock Teardown, Opening Case: 手順 2、 2の画像 2
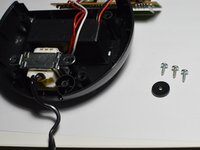
    • Remove the 4 screws and seperate the two halves

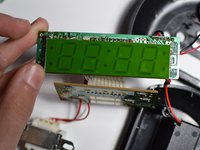
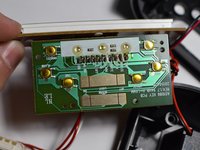
  3. Amazon Basics Alarm Clock Teardown, Remove top PCB: 手順 3、 3の画像 1 Amazon Basics Alarm Clock Teardown, Remove top PCB: 手順 3、 3の画像 2 Amazon Basics Alarm Clock Teardown, Remove top PCB: 手順 3、 3の画像 3
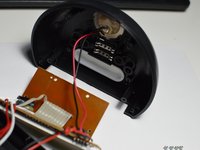
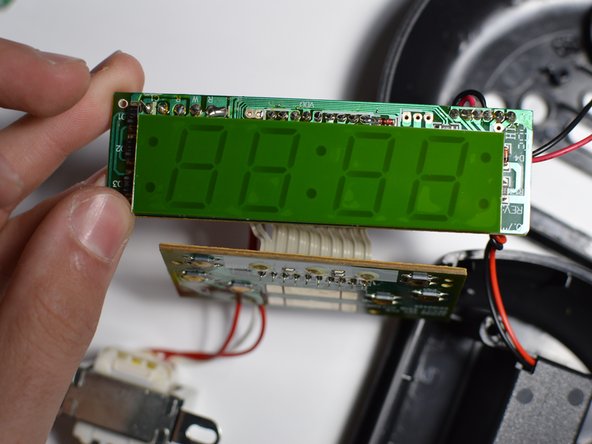
    • 4 screws are removed to release the top PCB, the screen and top PCB can then be removed. The speaker is permanently installed in the top and cannot be removed without unsoldering it and removing the glue.

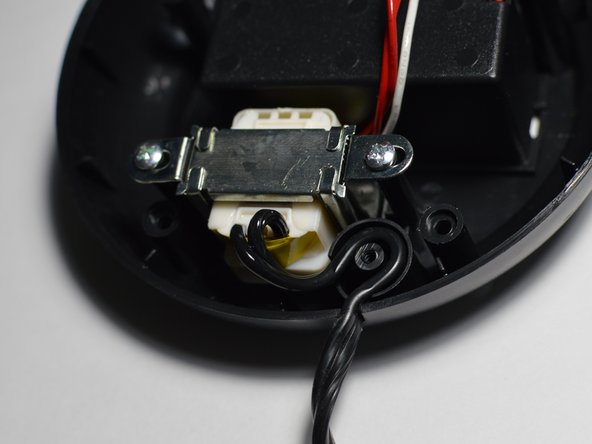
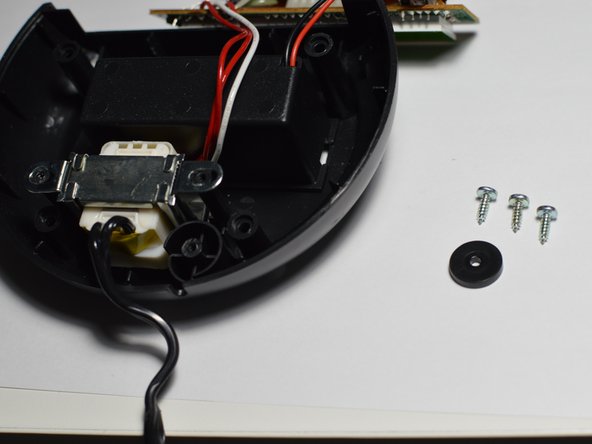
  4. Amazon Basics Alarm Clock Teardown, Remove transformer: 手順 4、 3の画像 1 Amazon Basics Alarm Clock Teardown, Remove transformer: 手順 4、 3の画像 2 Amazon Basics Alarm Clock Teardown, Remove transformer: 手順 4、 3の画像 3
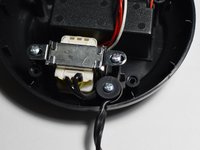
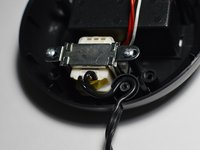
    • Transformer and wire strain relief are held in by 3 screws, when removed each part can be lifted out.

  5. Amazon Basics Alarm Clock Teardown, Final Disassembly: 手順 5、 3の画像 1 Amazon Basics Alarm Clock Teardown, Final Disassembly: 手順 5、 3の画像 2 Amazon Basics Alarm Clock Teardown, Final Disassembly: 手順 5、 3の画像 3
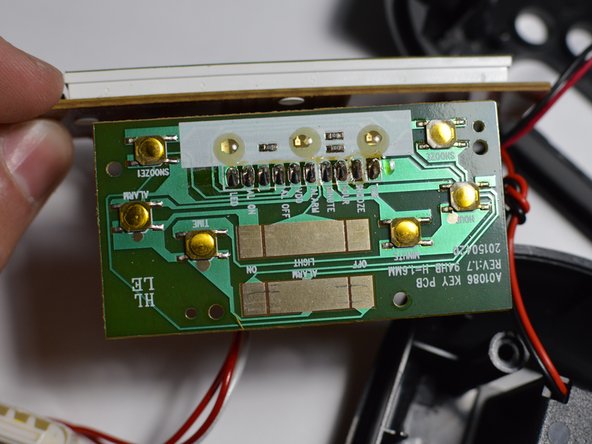
    • All buttons from top case lift out completing the disassembly. Without de-soldering the 9v battery connector and the speaker the top and bottom case halves are still connected.

作成者

2人の作成者と共同で作成されました。

Wieli

メンバー登録日: 01/08/23

2,141 ポイント

13のガイドは作成済み

0件のガイドコメント

コメントを追加

統計データ:

過去 24時間: 1

過去 7 日: 6

過去 30 日: 76

今までの合計 345