ご注意:あなたは前提となるガイドを編集しています。あなたが行なう変更は、この手順を含むガイド全体に反映されます。
手順 8を翻訳中
手順8


Reassembly information
-
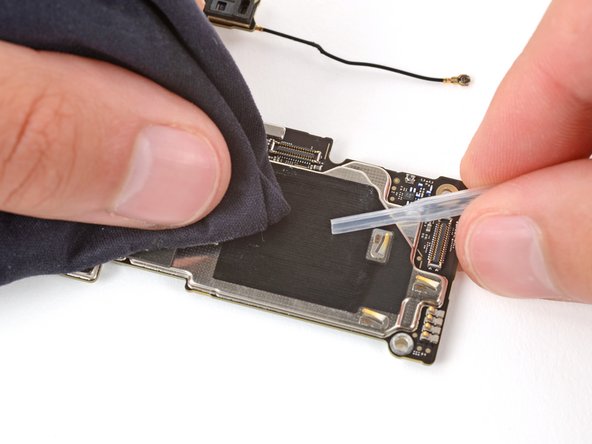
Check the condition of the logic board thermal pad—it will either be on the bottom of the logic board or on the frame.
-
If the pad is undamaged, skip the rest of this step.
-
If the pad is damaged, use the flat end of a spudger to scrape it up and remove it.
-
Use isopropyl alcohol (greater than 90%) and a microfiber cloth to remove all thermal pad residue from the frame and bottom of the logic board.
-
Apply a new thermal pad to its spot on the frame.
クリエイティブコモンズのオープンソース著作権のもと、あなたの投稿は著作権の対象となります。