メインコンテンツにスキップ

Nintendo 2DS Volume Slider Replacement

英語
中国語

手順 5を翻訳中

手順5
Nintendo 2DS Volume Slider Replacement: 手順 0、 3の画像 1 Nintendo 2DS Volume Slider Replacement: 手順 0、 3の画像 2 Nintendo 2DS Volume Slider Replacement: 手順 0、 3の画像 3
  • Use a spudger to pry the back case off by working around the perimeter of the device, starting from the bottom of the 2DS.

  • Don't yank or pull the back case off because the camera ribbon is attached to the motherboard and back case and may rip or damage the cable or camera itself.

  • Use the tip of a spudger, an opening tool, or your fingernail to flip up the small, hinged locking flap on the camera cable.

  • Use your spudger to gently slide the cable out of the connector.

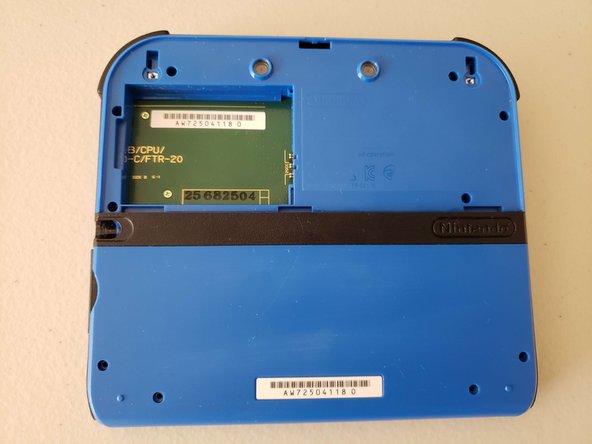
  • Remove the back case.

ここに翻訳を挿入する

ここに翻訳を挿入する

ここに翻訳を挿入する

ここに翻訳を挿入する

ここに翻訳を挿入する

クリエイティブコモンズのオープンソース著作権のもと、あなたの投稿は著作権の対象となります