手順 3を翻訳中
手順3

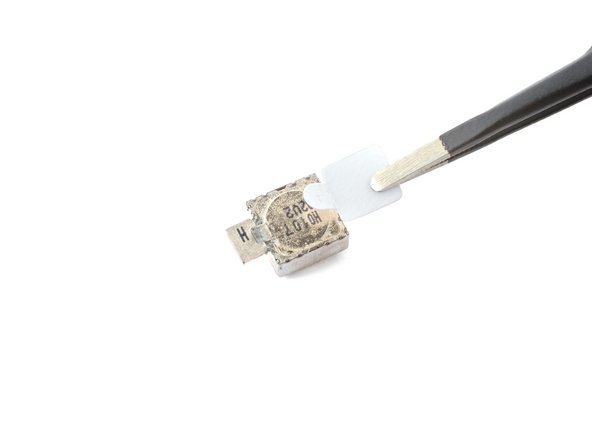


Vibrator reassembly instructions
-
Peel off the vibrator adhesive from its liner and apply the sticky end to the bottom of the vibrator.
-
Use tweezers, or your fingers, to pull up on the white liner to expose the top layer of adhesive.
-
Insert the vibrator and apply pressure to adhere it to the frame.
クリエイティブコモンズのオープンソース著作権のもと、あなたの投稿は著作権の対象となります。