手順 1を翻訳中
手順1

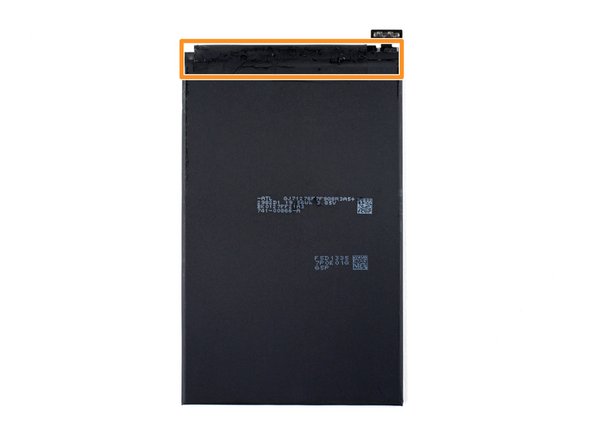


Battery removal information
-
There are four stretch release adhesive pull tabs that have to be removed to separate the adhesive underneath the battery.
-
The remainder of the adhesive is located on the top edge of the battery, near the connector; keep this in mind when inserting a plastic card.
| [title] Battery removal information | |
| [* icon_note] Before you begin the procedure, note the following: | |
| [* red] There are four stretch release adhesive pull tabs that have to be removed to separate the adhesive underneath the battery. | |
| - | [* orange] The remainder of the adhesive is located on the top edge of the battery, near the connector; keep this in mind when inserting a plastic card. |
| + | [* orange] The remainder of the adhesive is located on the top edge of the battery, near the connector; keep this in mind when inserting a [product|IF145-101|plastic card]. |
クリエイティブコモンズのオープンソース著作権のもと、あなたの投稿は著作権の対象となります。