メインコンテンツにスキップ

iPad Mini6 バッテリー交換

英語
日本語

手順 1を翻訳中

手順1
iPad Mini 6 Battery Replacement, Battery removal information: 手順 0、 2の画像 1 iPad Mini 6 Battery Replacement, Battery removal information: 手順 0、 2の画像 2
Battery removal information
  • Before you begin the procedure, note the following:

  • There are four stretch release adhesive pull tabs that have to be removed to separate the adhesive underneath the battery.

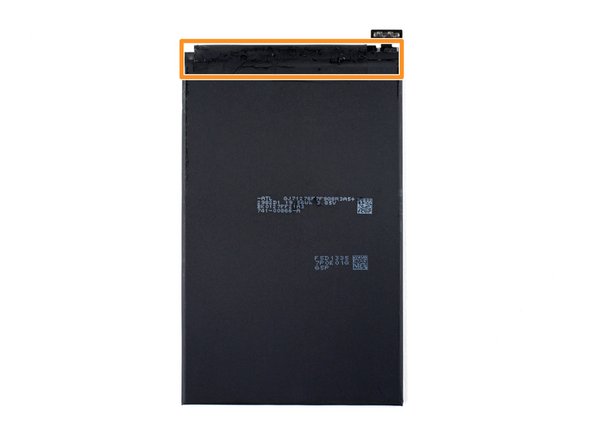
  • The remainder of the adhesive is located on the top edge of the battery, near the connector; keep this in mind when inserting a plastic card.

作業を開始する前に次の点にご注意ください。

バッテリー下にある接着剤を外すために、4つのストレッチリリース接着剤プルタブを取り外す必要があります。

接着剤の残りは、バッテリーの上端、コネクタ付近にあるので、プラスチックカードを挿入するときは、この点に注意してください。

クリエイティブコモンズのオープンソース著作権のもと、あなたの投稿は著作権の対象となります