手順 3を翻訳中
手順3

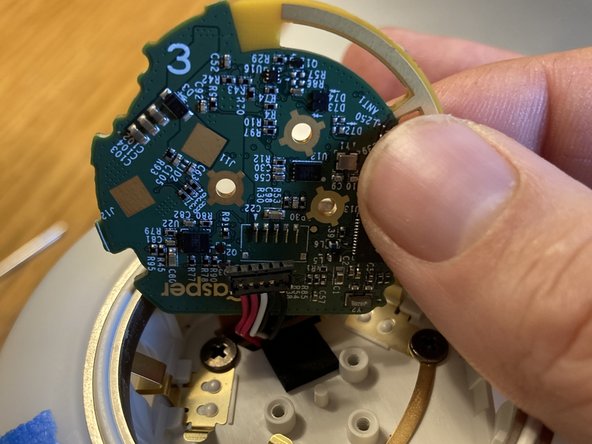


Take of at least 1 of the PCBs
-
Warning: once you remove the connections to the PCBs they will be quite difficult to reattach. Unfortunately, you'll need to at least remove one side to access the battery. I recommend starting with the side labeled 10 which does not have a power connection.
クリエイティブコモンズのオープンソース著作権のもと、あなたの投稿は著作権の対象となります。