注意:あなたは必要条件ガイドを編集しています。あなたが行なう変更は、この手順を含む全ての4個のガイドに反映されます。
手順 9を翻訳中
手順9


-
Lay a hot iOpener along the bottom left corner of the iPad, spanning from the opening pick to the home button.
-
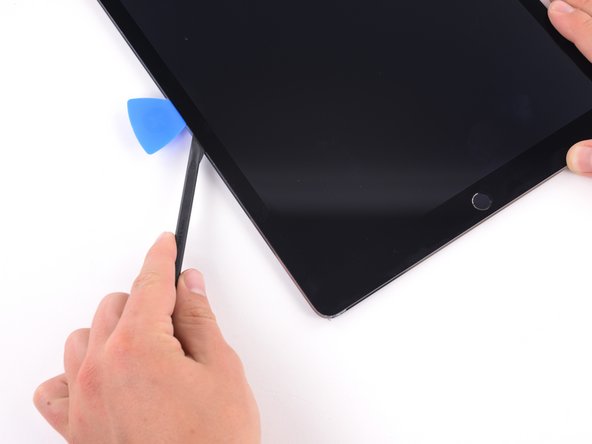
After letting the adhesive soften, insert an opening pick or halberd spudger into the gap next to the Smart Connector.
-
Use an opening pick or halberd spudger to slice the adhesive along the bottom left side of the iPad. If the slicing becomes difficult, reheat the edge and try again.
クリエイティブコモンズのオープンソース著作権のもと、あなたの投稿は著作権の対象となります。