メインコンテンツにスキップ

左側 Joy-Con 充電レールの交換

英語
日本語

手順 16を翻訳中

手順16
Left Joy-Con Charging Rail Replacement: 手順 0、 3の画像 1 Left Joy-Con Charging Rail Replacement: 手順 0、 3の画像 2 Left Joy-Con Charging Rail Replacement: 手順 0、 3の画像 3
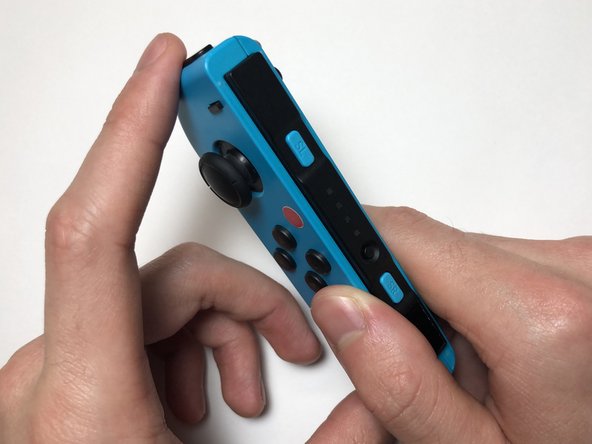
  • Align the charging rail into the notch on the left side of the Joy-Con.

  • Apply even pressure on both sides of the Joy-Con until the two shells click together.

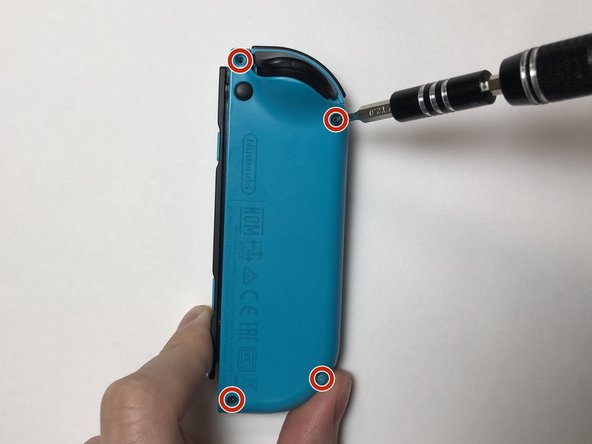
  • Screw in the four 6 mm Tri-point Y00 screws into the back of the Joy-Con.

充電レールをJoy-Conの左側にある切り欠きに合わせます。

2つのシェルがカチッと装着音が立つまで、Joy-Conの両側に均等な圧力をかけてください。

6mmのトライポイントY00ネジ4本をJoy-Conの背面に装着します。

クリエイティブコモンズのオープンソース著作権のもと、あなたの投稿は著作権の対象となります