メインコンテンツにスキップ

iPhone 12 バッテリーの交換

ご注意:あなたは前提となるガイドを編集しています。あなたが行なう変更は、この手順を含むガイド全体に反映されます。

英語
日本語

手順 7を翻訳中

手順7
iPhone 12 Battery Replacement: 手順 0、 3の画像 1 iPhone 12 Battery Replacement: 手順 0、 3の画像 2 iPhone 12 Battery Replacement: 手順 0、 3の画像 3
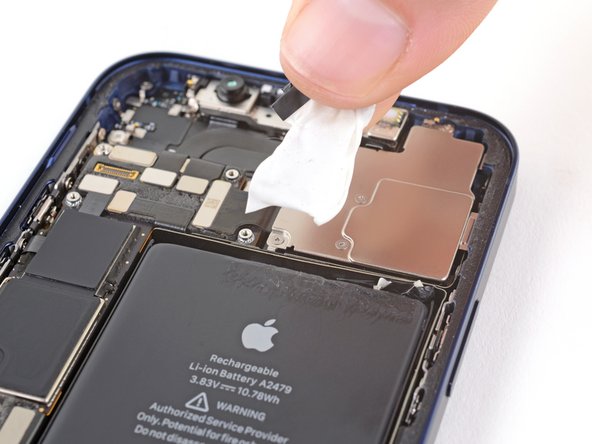
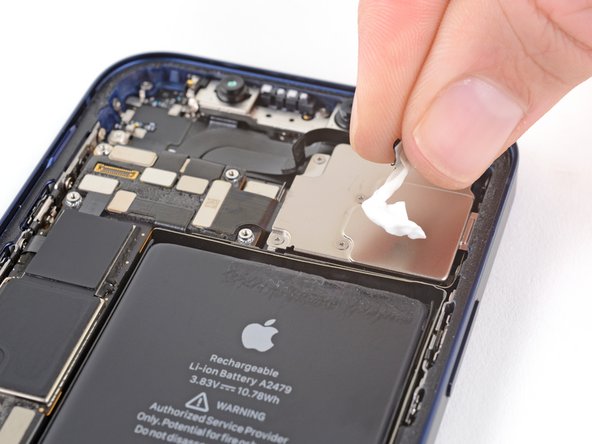
  • Using the same procedure as before, pull the remaining two tabs, one at a time, to stretch and remove the remaining adhesive strip holding the battery in place. Try not to snag the adhesive on anything.

  • Be careful not to fling the battery from the iPhone as the final adhesive strip comes out.

  • If you removed all the adhesive strips successfully, skip the next step.

  • Otherwise, continue with the next step below.

同じ手順を繰り返して、残りの2本のプルタブを別々に引っ張ります。プルタブを周辺のパーツに引っ掛けて切断しないようにご注意ください。

最後の接着ストリップが外れる時に、iPhoneからバッテリーが飛び出さないようにご注意ください。

全ての接着ストリップを無事、取り外せたら、次の手順はスキップしてください。

接着ストリップがバッテリーの底で切断してしまい、バッテリーを取り出すことができない場合は、次の手順に進んでください。

クリエイティブコモンズのオープンソース著作権のもと、あなたの投稿は著作権の対象となります