メインコンテンツにスキップ

iPhone 12 バッテリーの交換

ご注意:あなたは前提となるガイドを編集しています。あなたが行なう変更は、この手順を含むガイド全体に反映されます。

英語
日本語

手順 2を翻訳中

手順2
iPhone 12 Battery Replacement, Remove the stretch-release adhesive: 手順 0、 2の画像 1 iPhone 12 Battery Replacement, Remove the stretch-release adhesive: 手順 0、 2の画像 2
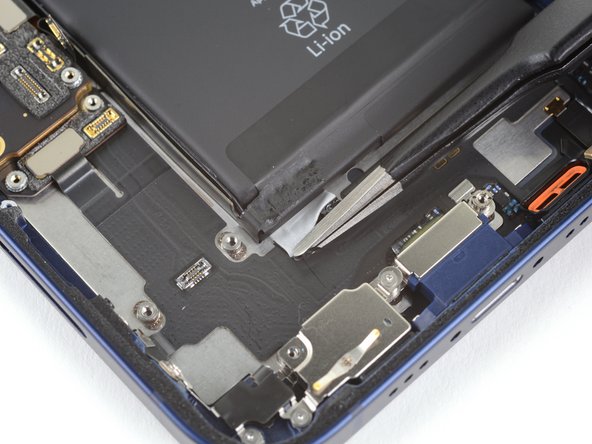
Remove the stretch-release adhesive
  • Peel down the first battery adhesive pull-tab to un-stick it from the bottom edge of the battery.

  • Caution: Don't jab the battery with any sharp tools. A punctured battery may leak dangerous chemicals or catch fire.

一番目のバッテリー用プルタブをバッテリーの下側端から剥がします。

ご注意: 鋭利なツールでバッテリーを突かないでください。バッテリーに穴を開けてしまうと、危険な化学物質が排出されてしまい、引火の原因となります。

クリエイティブコモンズのオープンソース著作権のもと、あなたの投稿は著作権の対象となります