手順 1を翻訳中
手順1

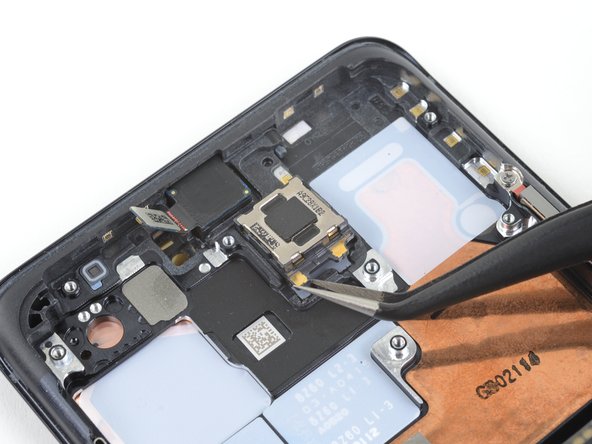


Remove the earpiece speaker
-
Insert one point of a pair of tweezers under the bottom left corner of the earpiece speaker.
-
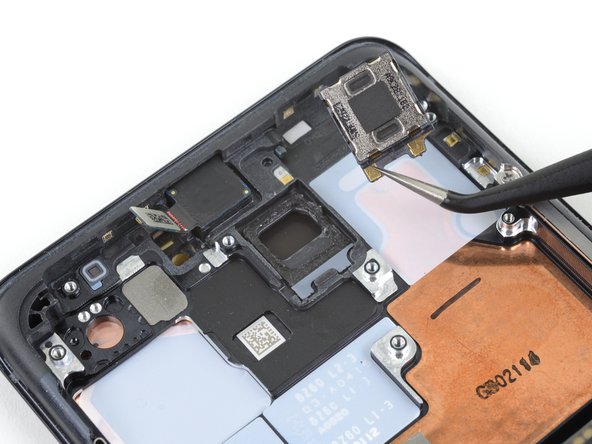
Pry up to release the adhesive and remove the earpiece speaker.
| [title] Remove the earpiece speaker | |
| - | [* black] Insert one point of a pair of tweezers under the bottom left corner of the earpiece speaker. |
| + | [* black] Insert one point of a pair of [product|IF145-020|tweezers] under the bottom left corner of the earpiece speaker. |
| [* icon_note] The earpiece speaker sits in a deep recess and is secured with adhesive. If you have trouble getting under it, apply a few drops of high concentration (over 90%) isopropyl alcohol to help soften the adhesive. | |
| [* black] Pry up to release the adhesive and remove the earpiece speaker. | |
| [* icon_reminder] It is possible to reuse the speaker adhesive when installing a replacement speaker, but if you need to replace the adhesive, you can do so with a [guide|113604|pre-cut adhesive sheet|new_window=true]. |
クリエイティブコモンズのオープンソース著作権のもと、あなたの投稿は著作権の対象となります。