手順 5を翻訳中
手順5


-
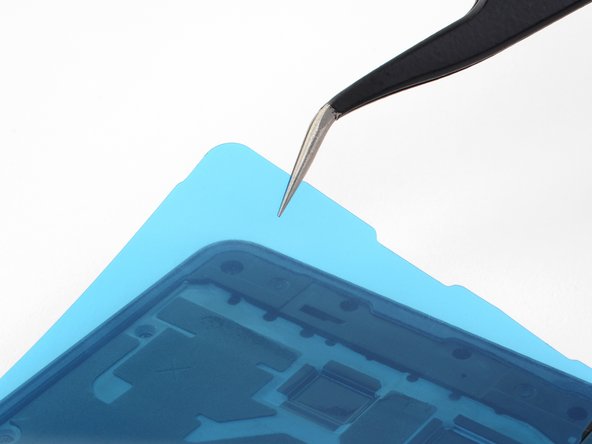
With the adhesive lined up with the edges of the case, use your finger or a spudger to press the adhesive strip down against the case.
-
Use a pair of tweezers to remove the inner portion of the blue backing. It may be necessary to hold the adhesive down with a spudger to avoid pulling up the adhesive strip.
| [* black] With the adhesive lined up with the edges of the case, use your finger or a spudger to press the adhesive strip down against the case. | |
| - | [* black] Use a pair of tweezers to remove the inner portion of the blue backing. It may be necessary to hold the adhesive down with a spudger to avoid pulling up the adhesive strip. |
| + | [* black] Use a pair of [product|IF145-020|tweezers] to remove the inner portion of the blue backing. It may be necessary to hold the adhesive down with a spudger to avoid pulling up the adhesive strip. |
| [* icon_note] Be very careful and avoid tearing or removing the adhesive. |
クリエイティブコモンズのオープンソース著作権のもと、あなたの投稿は著作権の対象となります。