手順 4を翻訳中
手順4


-
Peel away the white backing, exposing one side of the adhesive strip.
-
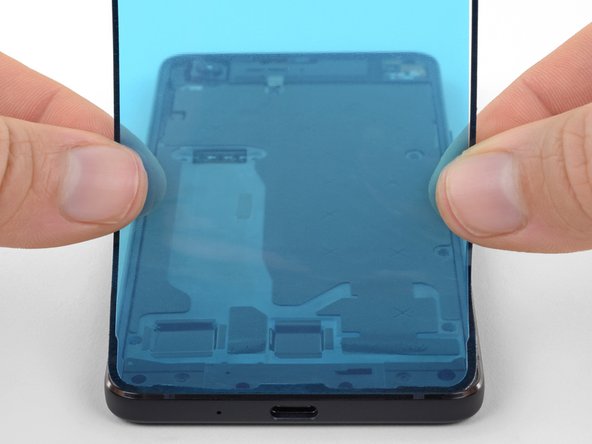
Carefully place the adhesive strip on the phone case, with the exposed side down, and the blue backing up.
-
Start at the bottom of the case, lining up the contours along the bottom edge of the adhesive with those of the case. Then lay down the rest of the adhesive.
クリエイティブコモンズのオープンソース著作権のもと、あなたの投稿は著作権の対象となります。