メインコンテンツにスキップ

Google Pixel Displaykleber anbringen

手順 1を翻訳中

英語
ドイツ語
手順1
Google Pixel Display Adhesive Installation: 手順 0、 3の画像 1 Google Pixel Display Adhesive Installation: 手順 0、 3の画像 2 Google Pixel Display Adhesive Installation: 手順 0、 3の画像 3
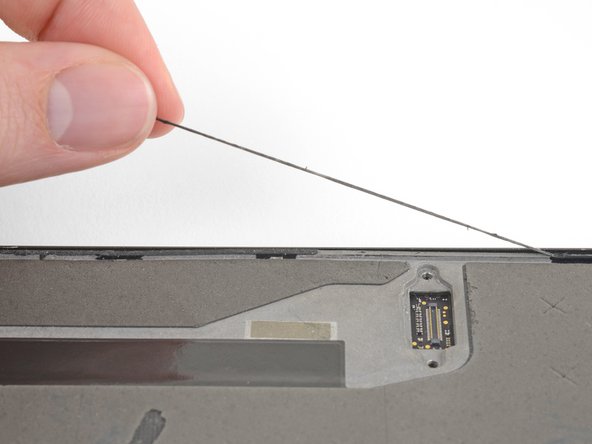
  • Peel away and remove all the old display adhesive from the body of your phone.

  • Use the point of your spudger to scour away and remove any lingering adhesive.

  • Using metal tools can lead to scratching the glass!

  • If you are reinstalling your existing display, remove all the old adhesive from that as well.

  • For best results, clean the area underneath the removed adhesive with 90% or greater isopropyl alcohol to prep the surface for the new adhesive.

  • While high-concentration isopropyl alcohol is generally safe for use with electronics, it can wear away the foam padding on the midframe. Be careful as you clean the narrow edges of the frame.

Löse alle Überreste des Displayklebers vom Gehäuse deines Smartphones ab.

Schabe mit der Spudgerspitze alle Kleberreste ab und beseitige gründlich alle Spuren.

Wenn du Werkzeuge aus Metall verwendest, kann das Glas Kratzer bekommen!

Wenn du dein altes Display wieder einbauen willst, musst du auch dort alle Kleberreste beseitigen.

Du erzielst die besten Ergebnisse, wenn du die Klebeflächen mit Ispropylalkohol (mindestens 90%ig) reinigst und für die Montage vorbereitest.

Hochkonzentrierter Ispropylalkohol schadet zwar der Elektronik nicht, kann aber den Schaumstoff am Mittelrahmen auflösen. Sei beim Reinigen der schmalen Kanten am Rahmen sehr vorsichtig.

クリエイティブコモンズのオープンソース著作権のもと、あなたの投稿は著作権の対象となります