はじめに
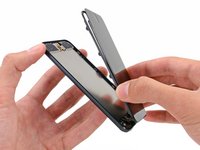
iPod Touchのホームボタンを交換するための修理ガイドです。
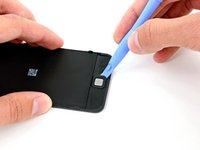
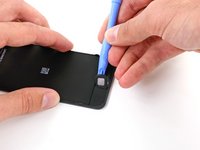
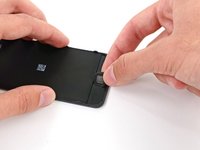
必要な工具と部品
-
-
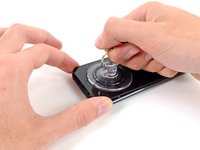
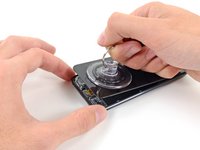
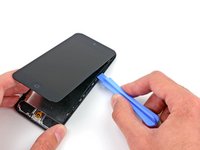
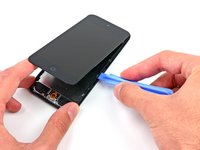
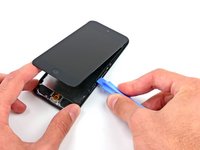
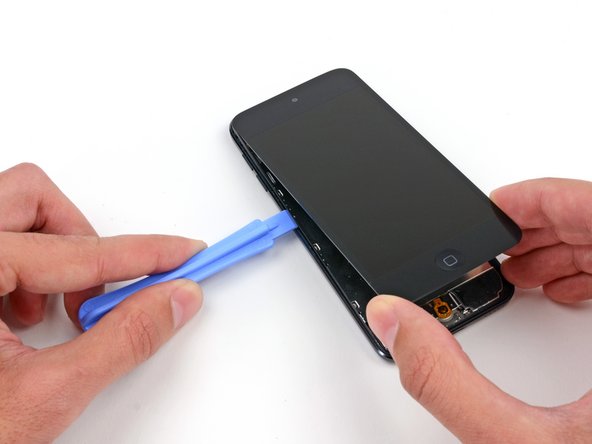
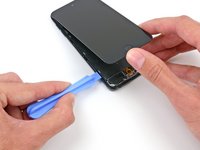
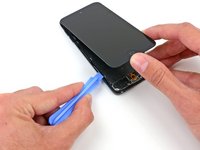
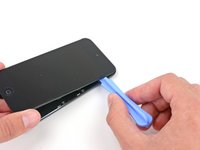
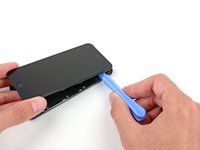
ディスプレイガラスが飛散している場合は、さらに広がらないようにガラス上にテープを貼ってください。
-
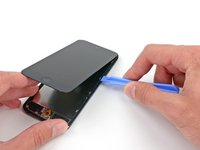
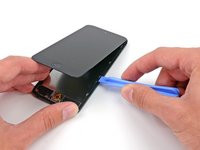
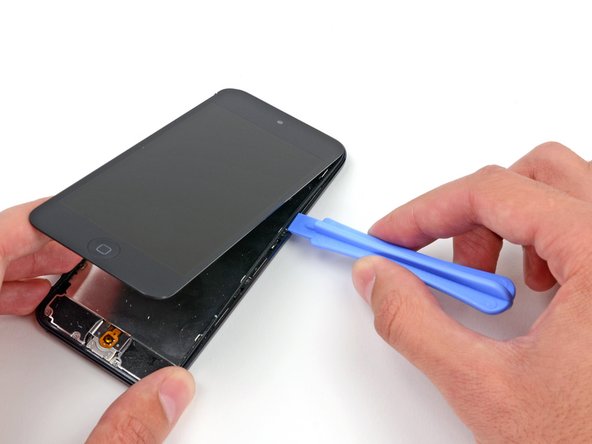
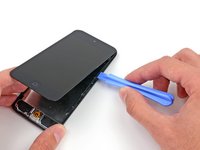
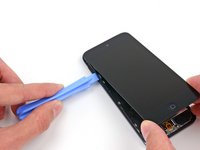
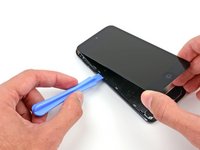
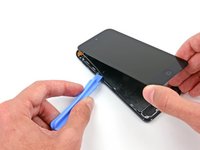
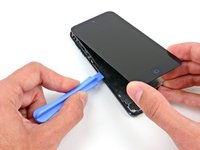
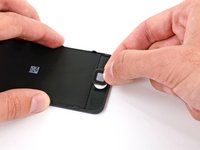
透明な梱包用テープをiPodのディスプレイ上に貼り、ディスプレイ表面全体を覆います。
-
-


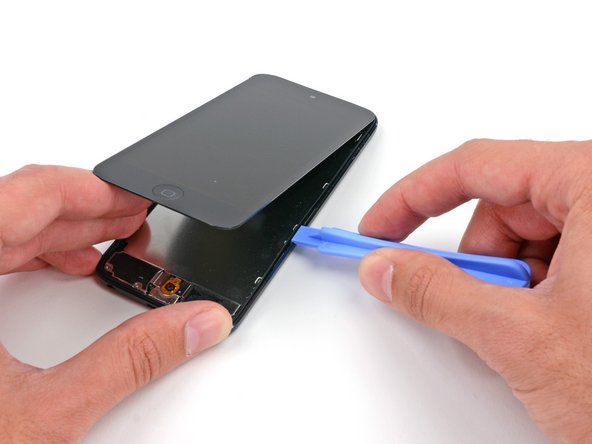
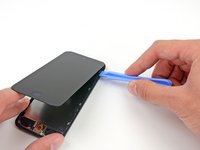


このデバイスを再組み立てするには、インストラクションを逆の順番に従って作業を進めてください。
41 の人々がこのガイドを完成させました。
以下の翻訳者の皆さんにお礼を申し上げます:
100%

Midori Doiさんは世界中で修理する私たちを助けてくれています! あなたも貢献してみませんか?
翻訳を始める ›

2件のガイドコメント
Where's the rest of the guide? How to install the new home button, adhere it, etc. It doesn't appear to replace the actual switch, just the plastic button. Is it expected to fix non-working home buttons, or just make them look good with a new, pretty top?
This is a great disassembly guide, but a poor "Home Button Replacement"guide.
I agree; in most cases the fault won't be the outer button but the dome switch underneath. For that repair the best source I found was here:
https://www.youtube.com/watch?v=lzn5O3Ci...
There are two very small dome-shaped parts, one of which is rimmed with orange adhesive Kapton tape that make up the dome switch; the lower one goes on first, convex side up. Then the Kapton taped upper dome goes on over that, with the small tabs in the tape aligned left and right when placed over the lower dome. This is a very delicate operation, and requires patience and tools for finely detailed work. I successfully got mine working again, so I can confirm that this repair is possible. The parts can be purchased by using the link provided in the YouTube video. Best of luck!