ビデオの概要
-
-
-
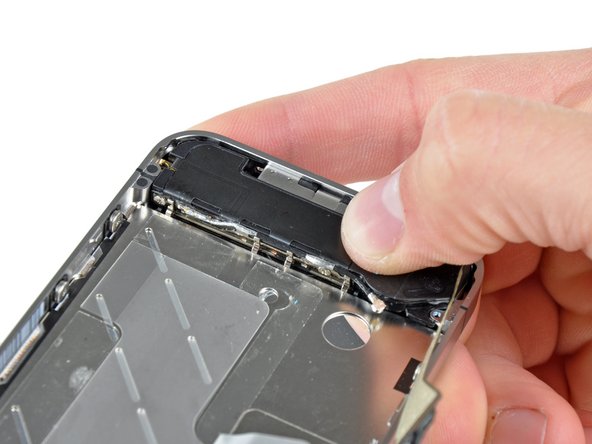
ヘッドフォンジャック付近の4.8 mmスタンドオフネジを外します。
-
スタンドオフネジは、 スタンドオフ対応ドライバーもしくはビットを使うことをお勧めします。
-
急を要する時は、マイナスドライバーでも対応できます。しかしドライバーが滑って、周囲のコンポーネントを破損しないようにご注意ください。
-
このパーツがなければ、マザーボードが周辺のリボンケーブルにダメージを与えてしまいます。
-
-
-
内部フレームに留められたバイブレーターから次のネジを2本外します。
-
6 mmプラスネジー1本
-
1.4 mmプラスネジー1本
-
iPhoneからバイブレーターを取り出します。
-


デバイスを再組み立てする際は、これらの手順を逆の順番に従って作業を進めてください。
デバイスを再組み立てする際は、これらの手順を逆の順番に従って作業を進めてください。
951 の人々がこのガイドを完成させました。
以下の翻訳者の皆さんにお礼を申し上げます:
100%

Midori Doiさんは世界中で修理する私たちを助けてくれています! あなたも貢献してみませんか?
翻訳を始める ›
添付文書

26 件のコメント
To replace broken glass you must purchase the glass/digitizer/lCD/frame together because the glass is sealed to the LCD. Do not fall for the cheap glass and digitizer replacements with no LCD.
I was able to replace the LCD panel and digitizer as separate units, but they were separate to start with. That being said, it's definitely more challenging. it's pretty easy to get the two attached to each other, just takes 2 drops (1/10th of one ml) of clear oil. i used a 1/2cc syringe to spread a thin line down the center. came out absolutely perfect. without the oil it's horrible. No contrast and just moiré galore.
The added difficulty comes from getting the two parts to behave while assembling, since they aren't glued, they slip and slide around, and air can get in on the edges and no more dark black.
i tried first with water; terrible results, it interfered with the capacitive touch; ouch. So, i got some practice today re-assembling the phone. the guide was priceless—this is one of the most complex teardowns of ever. i used 12 compartments of an 18-comartment bin.