はじめに
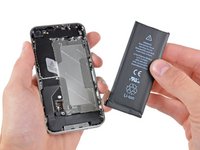
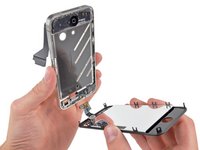
このガイドを使ってiPhoneのスクリーンの交換をしてください。ディスプレイアセンブリを交換すると、新しいフロントガラスパネル、デジタイザ、LCDが新しくなります。液晶ディスプレイは工場出荷時にガラスに接着されています。この2つのパーツをダメージを与えずに剥がすことはできません。
スクリーンを無事に交換することができたら、新しいディスプレイを傷から守る為、スクリーンプロテクターを装着してください。
必要な工具と部品
ビデオの概要
-
-
この手順で使用する道具:Standoff Screwdriver for iPhones$5.49
-
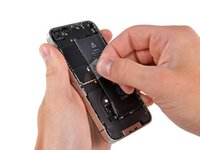
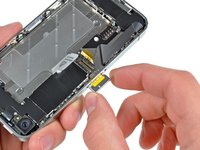
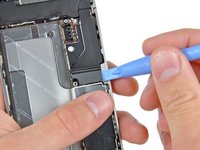
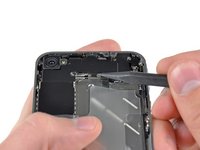
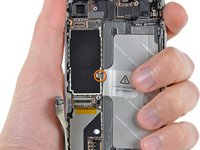
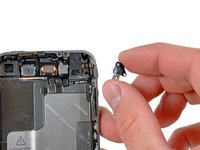
ヘッドフォンジャック付近の4.8 mmスタンドオフネジを外します。
-
スタンドオフネジは、 スタンドオフ対応ドライバーもしくはビットを使うことをお勧めします。
-
急を要する時は、マイナスドライバーでも対応できます。しかしドライバーが滑って、周囲のコンポーネントを破損しないようにご注意ください。
-
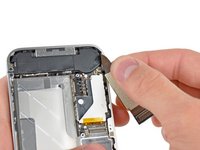
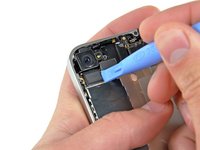
このパーツがなければ、マザーボードが周辺のリボンケーブルにダメージを与えてしまいます。
-
-
-
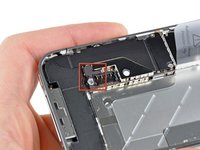
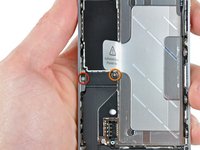
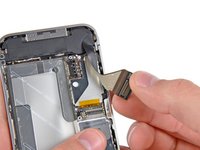
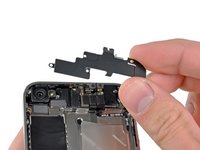
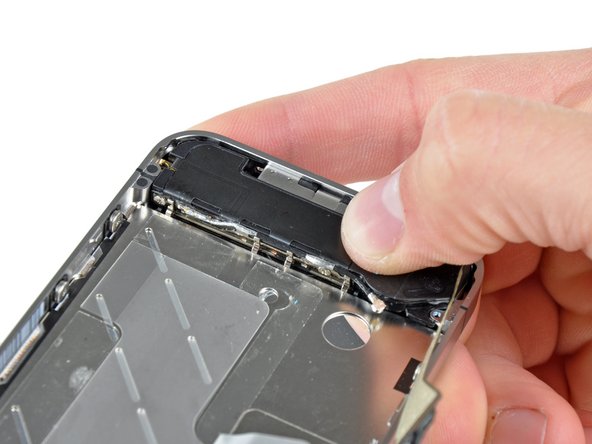
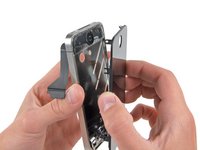
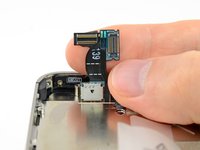
内部フレームに留められたバイブレーターから次のネジを2本外します。
-
6 mmプラスネジー1本
-
1.4 mmプラスネジー1本
-
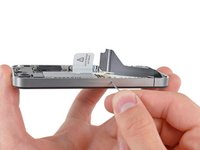
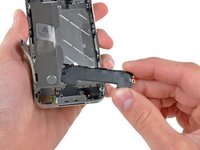
iPhoneからバイブレーターを取り出します。
-
-
-
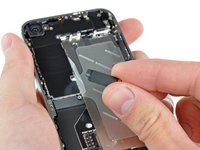
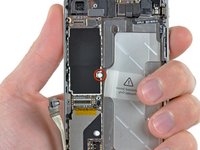
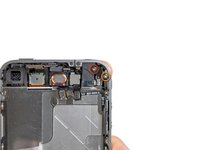
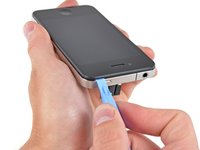
交換用のディスプレイは色付きのプラスチックフイルムがLCDの裏側に貼られている場合があります。この場合は、iPhoneに新しいディスプレイを装着する前にホームボタン付近のプルタブを引いて、LCDからプラスチックフイルムを剥がしてください。
-
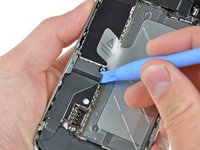
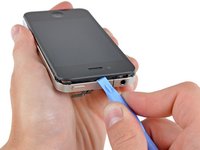
再組み立てが終わったら、iPhoneに取り付ける前にタッチスクリーンの表面をアルコール付きワイプで綺麗に拭き取ってください。アルコールはディスプレイに起こりうる静電気の問題を防いでくれます。
-
作業後は新しいディスプレイを傷から守る為、スクリーンプロテクターを装着してください。
-


デバイスを再組み立てする際は、これらのインストラクションを逆の順番に従って作業を進めてください。
デバイスを再組み立てする際は、これらのインストラクションを逆の順番に従って作業を進めてください。
1710 の人々がこのガイドを完成させました。
以下の翻訳者の皆さんにお礼を申し上げます:
100%

Midori Doiさんは世界中で修理する私たちを助けてくれています! あなたも貢献してみませんか?
翻訳を始める ›
添付文書

80 件のコメント
Done! Boy, it took me 1.5 but done. Anyway don't forget guys it's quality that counts so don't hurry up, take your time & get light (lots of light above you). Get a coke and it will work it. I reassembled everything, turned it on and home button working yeah. Ouch, my screen was no more sensitive. I killed the digitizer cable. Lucky me I had another broken iPhone which i took the LCD and put it on my phone. (about 1.5 again to reassemble everything back)
Tip 1: I did the whole thing with [リンクされた製品が存在しない、もしくは無効: IF145-047] and I had everything I needed.
Tip 2: Print Home_Button_Screw_Template.pdf (you'll need it) Find a magnet pad to put under your A4 paper. This will help hold the screws.
Tip 3: Use a suction cup at step 28. It found it in my [リンクされた製品が存在しない、もしくは無効: IF145-047]
Tip 4: I killed my digitizer cable at step 29 & 30. So please pay double attention there.
Tip 5: Get yourself a beer when finished :)
Only do tip 5 AND AGAIN ONLY do if your 21 or older
i did it success but the sensor dosnt work what the problem
Great guide, but I can't seem to get the back panel on afterwords. All of the plastic tabs seem to line up correctly but it won't slide down into place. Any advise?
I had the same problem.
Rear panel did not seem to slide back in to place.
After googling I found this tip:
Back panel will not slide back on?
If everything looks fine and aligned then you might just need to use a bit more force.
Worked for me :)