この翻訳は、ソースガイドの最新の更新を反映していない可能性があります。 翻訳の更新に協力してください。 または ソースガイドを参照してください。
はじめに
iFixit ガイドの最新版を見るには、こちらを参照してください。このガイドは修正の閲覧目的でアーカイブされています。
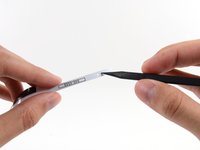
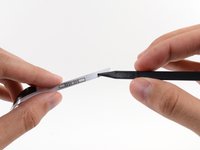
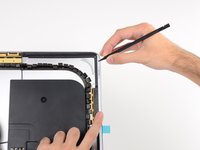
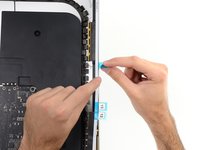
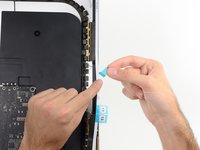
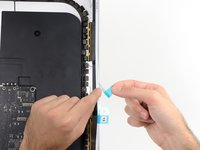
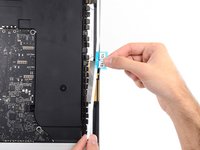
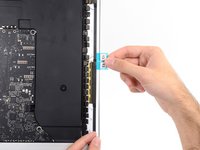
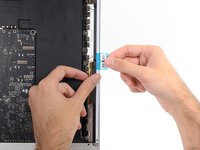
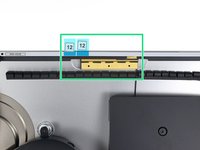
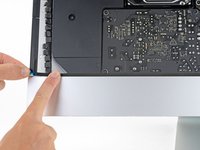
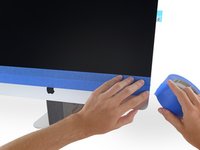
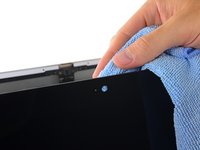
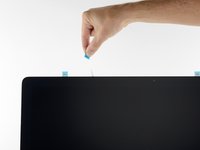
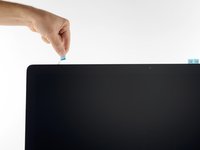
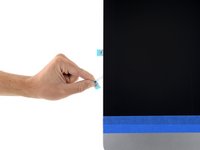
Late 2012のiMacでディスプレイを取り外すには、画面周辺の接着剤を切断する必要があります。接着剤を切断した後、ディスプレイを所定の位置に再度固定するために使用できませんので、新しい接着剤ストリップセットを適用する必要があります。
必要な工具と部品
ビデオの概要


デバイスを再構成するには、この手順を逆の順序で実行してください。
デバイスを再構成するには、この手順を逆の順序で実行してください。
188 の人々がこのガイドを完成させました。
以下の翻訳者の皆さんにお礼を申し上げます:
92%

これらの翻訳者の方々は世界を修理する私たちのサポートをしてくれています。 あなたも貢献してみませんか?
翻訳を始める ›

17 件のコメント
Hello guys!
Could anyone tell what the width of these strips is? I need to buy some double sided strips to do a hard drive upgrade, but I can't order from iFixit :(
Thank you!
Some 3m Extreme Mounting tape works perfect for hdd upgrades on an imac.
torch130 -
Hey guys... there's one critical step that's missing here. Before doing Step 18, you have to make sure the iSight camera is in the right place. It's 'floating' inside the computer housing and has to be positioned just right for the glass to close/seal properly with the frame. I followed all of these steps but the glass would not seal around the camera, leaving a 1/8" gap there and distortion on the LCD when powered on. I had to re-order the strips and do the process over again. While doing a 'dry run', I realized the camera was the culprit and was able to hold it in position with a paper clip which allowed for the glass to adhere properly on the 2nd try.
I'm surprised to see, that you install the tape strips on the unit lying down.
It's a lot easier to attach them with the unit standing upright.
Also, attach ALL the strips to the rear housing, NOT to the LCD.
Attach the tape strips to the housing, mount the display, use som painters (/masking) tape, when you have aligned the display to the edges of the housing, attach the tape to the bottom of the glass and rear housing, making sure the display won't slip out of alignment.
Then, tilt the display towards you and support it with either a hand or your chest, while you remove the tapes protective layer and tilt the display back.
That way, it's still well aligned and it won't shift.
Same goes when removing the display in the first place.
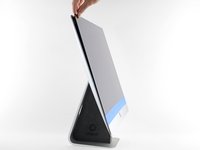
Don't lay it down on the table - use a wedge, to make sure that the housing doesn't tilt while removing the display, and let the wedge stay there unit finished. The display is a lot easier to handle when upright, and you won't put too much pressure on the edges of the glass.
By the way, a minor detail you guys left out;
The tape strips for the 2012 and 2013, are not the same as 2014 Retina model.
The WiFi antenna's are located differently on the right. It's slightly elevated on the Retina, compared to the 2012 and 2013 models.