メインコンテンツにスキップ
リペアコミュニティに参加 - アカウントの作成

iHome iPL8 Lightning Connector Replacement

必要な工具と部品

    1. iHome iPL8 Lightning Connector Replacement, Battery: 手順 1、 1の画像 1
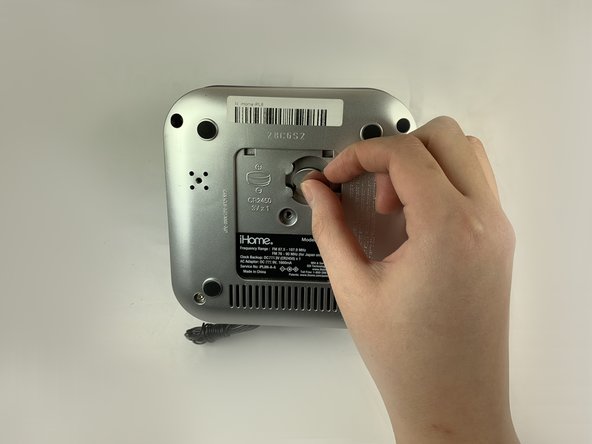
      • Turn the device over to access the bottom panel.

      • Locate the 6mm Phillips #2 screw under the label "unscrew to open door."

      FixBotに聞いてみる

      コメントを追加

    2. iHome iPL8 Lightning Connector Replacement: 手順 2、 1の画像 1
      • Using a Phillips #2 screwdriver, unscrew the captive screw.

      • Keep turning until the screw and the door are loose.

      FixBotに聞いてみる

      コメントを追加

    3. iHome iPL8 Lightning Connector Replacement: 手順 3、 1の画像 1
      • Lift and remove the battery access panel.

      • The captive screw will remain attached to the panel.

      FixBotに聞いてみる

      コメントを追加

    4. iHome iPL8 Lightning Connector Replacement: 手順 4、 2の画像 1 iHome iPL8 Lightning Connector Replacement: 手順 4、 2の画像 2
      • Gently press on the rim of the 3V battery.

      • Remove the 3V battery.

      FixBotに聞いてみる

      コメントを追加

    1. iHome iPL8 Lightning Connector Replacement, Lightning Connector: 手順 5、 1の画像 1
      • Keeping your device upside-down, locate the four 6mm Phillips #2 screws near each corner.

      • Remove the four 6mm Phillips #2 screws.

      FixBotに聞いてみる

      コメントを追加

    2. iHome iPL8 Lightning Connector Replacement: 手順 6、 1の画像 1
      • Remove the four round pads from the bottom of the device.

      • There are two additional 6mm Phillips #2 screws under the pads.

      • Using a Phillips #2 screwdriver, remove the two remaining screws.

      • Put your hand on the silver bottom case and gently pull it outward.

      FixBotに聞いてみる

      コメントを追加

    3. iHome iPL8 Lightning Connector Replacement: 手順 7、 2の画像 1 iHome iPL8 Lightning Connector Replacement: 手順 7、 2の画像 2
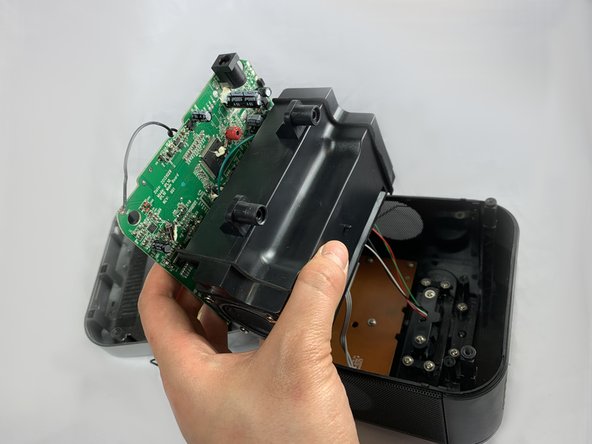
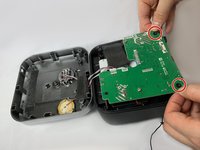
      • Locate the green circuit board. This panel is clipped onto two black, circular-shaped columns at two corners.

      • Pull out the green circuit board on the two corners.

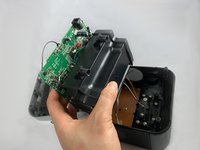
      • The green circuit board is attached to a black box at the bottom. Flip the panel and the black box together to open the device.

      FixBotに聞いてみる

      コメントを追加

    4. iHome iPL8 Lightning Connector Replacement: 手順 8、 2の画像 1 iHome iPL8 Lightning Connector Replacement: 手順 8、 2の画像 2
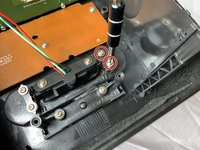
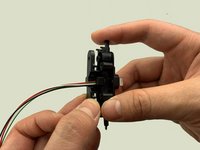
      • Remove the two 2.5 mm Phillips #1 screws securing the lightning dock assembly to the device.

      • Remove the two screws and the black cover.

      • Gently remove the lightning dock assembly.

      • The lightning dock assembly is connected to wires.

      FixBotに聞いてみる

      コメントを追加

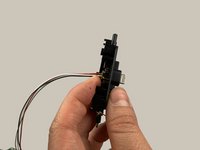
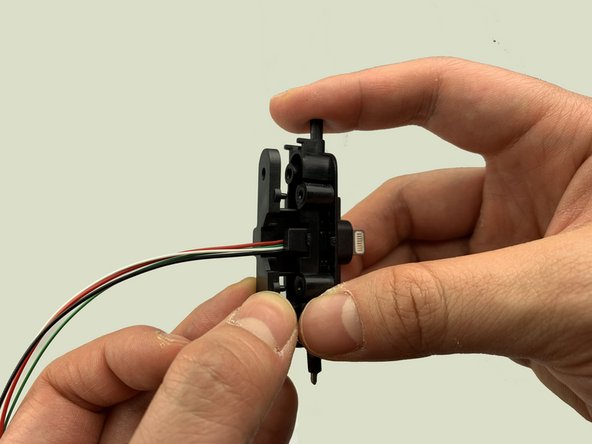
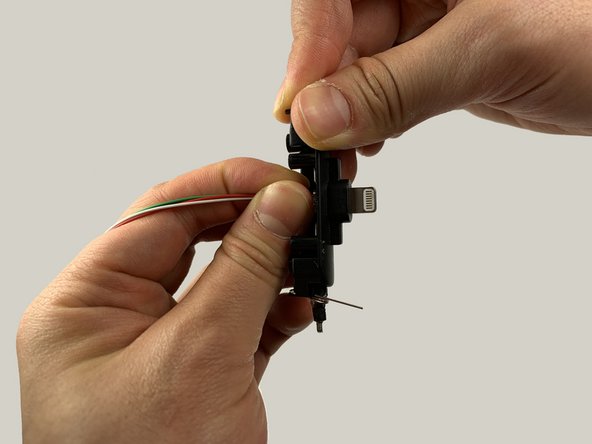
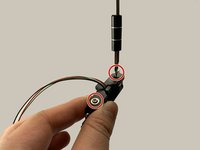
    5. iHome iPL8 Lightning Connector Replacement: 手順 9、 3の画像 1 iHome iPL8 Lightning Connector Replacement: 手順 9、 3の画像 2 iHome iPL8 Lightning Connector Replacement: 手順 9、 3の画像 3
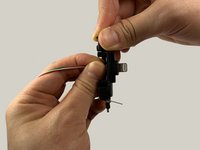
      • Remove the two 2.5mm screws using a Phillips #1 screwdriver.

      • Remove the back cover.

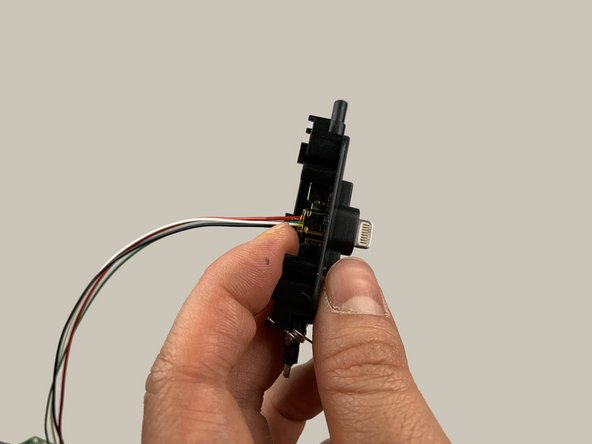
      • Use your fingers to reposition the lightning connector.

      • Make sure ALL of the lightning connector is exposed.

      FixBotに聞いてみる

      コメントを追加

終わりに

To reassemble your device, follow these instructions in reverse order.

キャンセル: このガイドを終了できませんでした。

作成者

1人の作成者と共同作成されました。

Chen Zhong

メンバー登録日: 02/05/19

569 ポイント

4のガイドは作成済み

チーム

UC Davis, Team S18-G5, Lore Winter 2019 UC Davis, Team S18-G5, Lore Winter 2019人のメンバー

UCD-LORE-W19S18G5

3 メンバー

8のガイドは作成済み

3件のガイドコメント

where can I find the replacement lightning connector?

Bond 007 and a Half - 返信 共有

Greetings, did you ever find the connector replacement? I am asking so that I can purchase. Thank you in advance for your reply.

Shawn Simmons - 返信 共有

I’m trying to find the replacement part to buy too.

Wendy - 返信 共有

コメントを追加

統計データ:

過去 24時間: 1

過去 7 日: 5

過去 30 日: 14

今までの合計 964