はじめに
This guide instructs you to replace the battery in an iHome iPL8. The process includes using screwdriver and removing bottom door of the device to detach the battery.
必要な工具と部品
-
-
-
Turn the device over to access the bottom panel.
-
Locate the 6mm Phillips #2 screw under the label "unscrew to open door."
 FixBotに聞いてみる
-
-
-
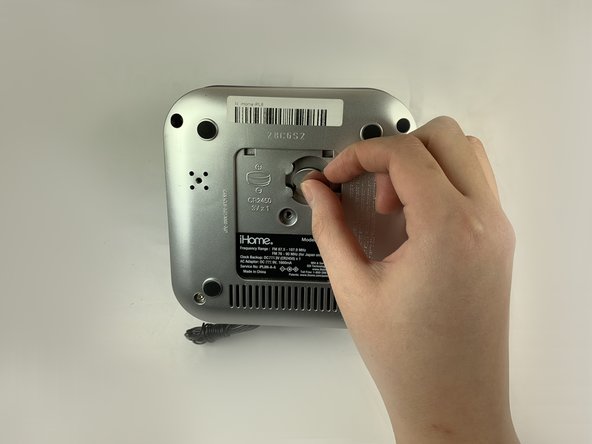
Using a Phillips #2 screwdriver, unscrew the captive screw.
-
Keep turning until the screw and the door are loose.
-
-
-


To reassemble your device, follow these instructions in reverse order.
ある他の人がこのガイドを完成しました。

チーム

UC Davis, Team S18-G5, Lore Winter 2019 UC Davis, Team S18-G5, Lore Winter 2019人のメンバー
UCD-LORE-W19S18G5
3 メンバー
36のガイドは作成済み
