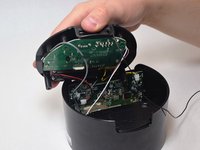
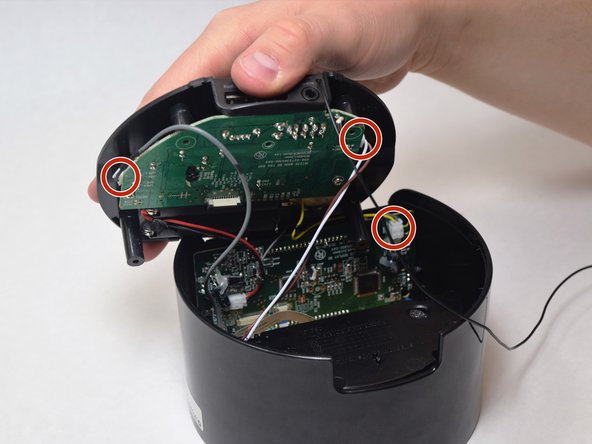
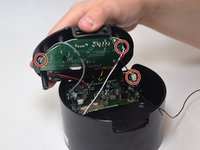
メインコンテンツにスキップ
リペアコミュニティに参加 - アカウントの作成

iHome iBT230 Motherboard Replacement

必要な工具と部品

  1. iHome iBT230 Motherboard  Replacement, Motherboard: 手順 1、 1の画像 1
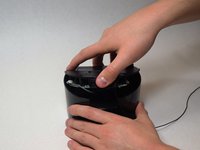
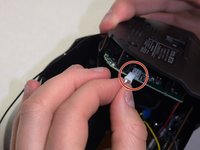
    • Remove the four 5.5 mm Phillips Head #00 screws from the bottom palate of the iBT230.

  2. iHome iBT230 Motherboard  Replacement: 手順 2、 2の画像 1 iHome iBT230 Motherboard  Replacement: 手順 2、 2の画像 2
    • Grip the top of the iBT230 by placing your thumb on the back portion, where the USB port is located. Pull up, and you should notice various different colored wires, connected to the Main Motherboard.

  3. iHome iBT230 Motherboard  Replacement: 手順 3、 3の画像 1 iHome iBT230 Motherboard  Replacement: 手順 3、 3の画像 2 iHome iBT230 Motherboard  Replacement: 手順 3、 3の画像 3
    • Unplug the connectors from all sides of the iBT230, and unplug the wire connected to the screen.

    • Make sure to note which wire goes where, you don't want to re-solder the wires into the incorrect ports!

  4. iHome iBT230 Motherboard  Replacement: 手順 4、 2の画像 1 iHome iBT230 Motherboard  Replacement: 手順 4、 2の画像 2
    • On the bottom component where the green Main Motherboard is located, remove the two 5.5 mm Phillips #00 screws.

    • The old Motherboard will come free from the bottom of the iBT230.

終わりに

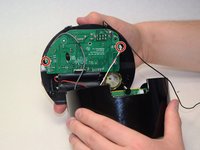
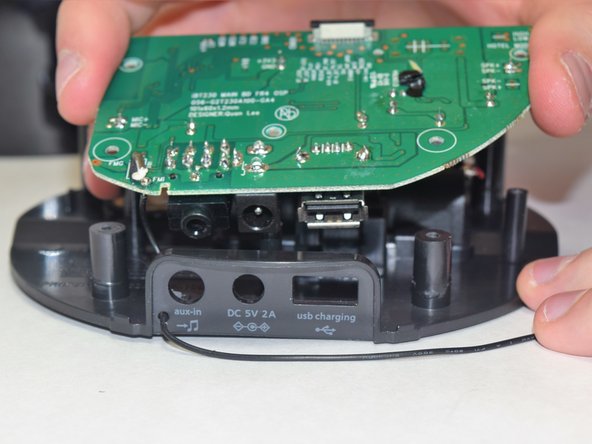
To reassemble your device, follow these instructions in reverse order.

2 の人々がこのガイドを完成させました。

作成者

2人の作成者と共同で作成されました。

Bilal Siddiqui

メンバー登録日: 04/10/17

376 ポイント

3のガイドは作成済み

チーム

UW Tacoma, Team S3-G6, Liner Spring 2017 UW Tacoma, Team S3-G6, Liner Spring 2017人のメンバー

UWT-LINER-S17S3G6

4 メンバー

3のガイドは作成済み

0件のガイドコメント

コメントを追加

統計データ:

過去 24時間: 1

過去 7 日: 10

過去 30 日: 37

今までの合計 876