はじめに
This guide is for an iBUYPOWER WA550B desktop computer.
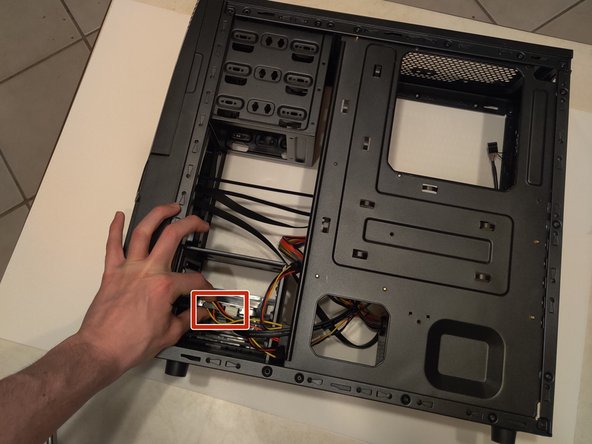
Before using this guide, try to re-install Windows and see if the solid-state drive appears in the re-installation media. If you cannot find it, try going into the BIOS. If you are still unable to find it open up the case and ensure that the SATA power and data cables are plugged in. One last thing you can do is to replace the SATA power and data cables. If you are still unable to locate the solid-state drive, this will confirm that it needs to be replaced.
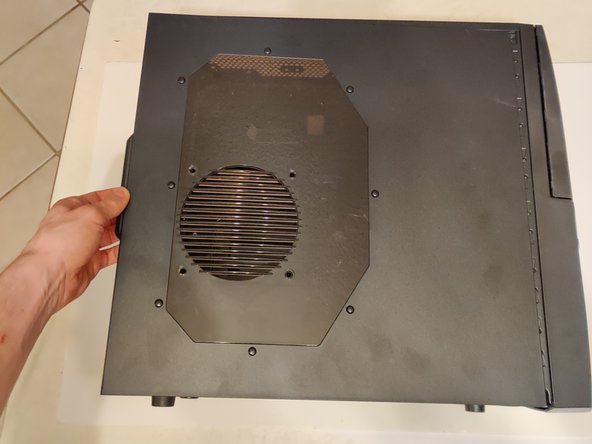
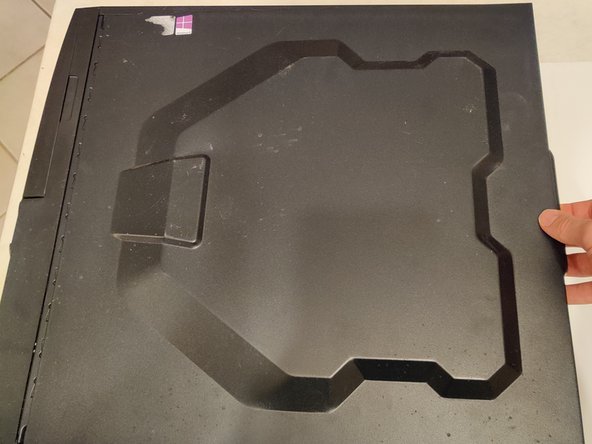
Before beginning, make sure that the computer is turned off and unplugged from a power source.
必要な工具と部品


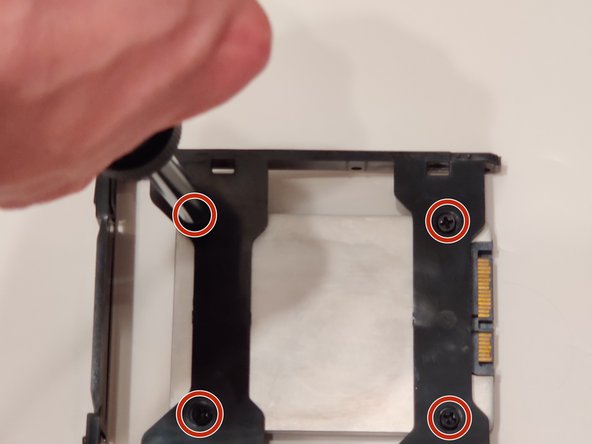
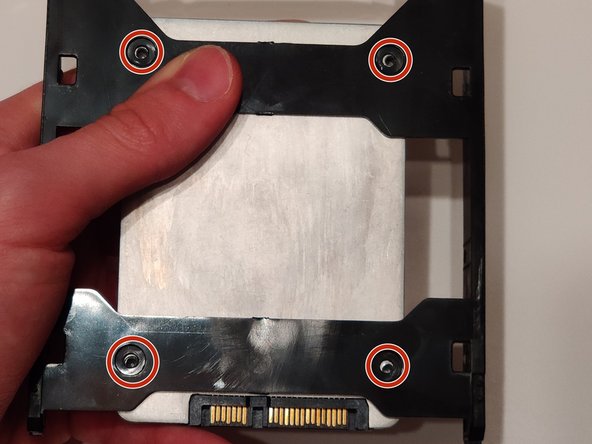
You have now successfully replaced the SATA Solid-State Drive for your computer!
チーム

University of Memphis, Team S5-G8, Willis Spring 2020 University of Memphis, Team S5-G8, Willis Spring 2020人のメンバー
UM-WILLIS-S20S5G8
1 メンバー
1のガイドは作成済み