手順 10を翻訳中
手順10


-
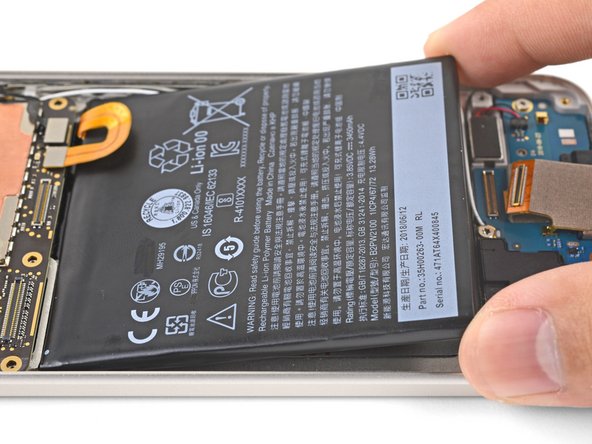
While the battery is still connected, lift the bottom end of the battery up.
-
Use tweezers to pull all of the adhesive liners off.
-
Carefully lower the battery back into place and press against the edges to activate the adhesive.
-
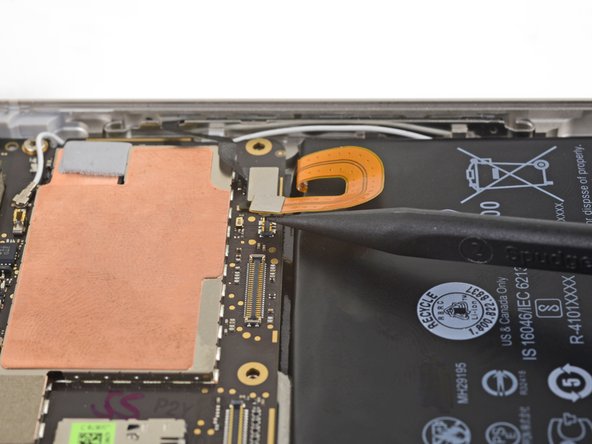
Use a spudger to pry up and disconnect the battery connector from the motherboard and bend it away slightly.
-
Continue with the reassembly process.
クリエイティブコモンズのオープンソース著作権のもと、あなたの投稿は著作権の対象となります。