手順 7を翻訳中
手順7


-
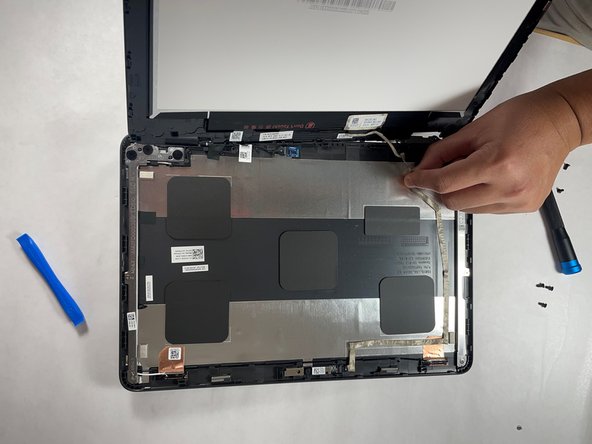
Use the opening tool to open the display panel starting from the pry points located above the left and right hinges.
-
Work your way around, through the left and right side of the panel, and carefully flip the display panel over.
クリエイティブコモンズのオープンソース著作権のもと、あなたの投稿は著作権の対象となります。