メインコンテンツにスキップ

Dell XPS 13 Display Assembly Replacement

手順 5を翻訳中

英語
日本語
手順5
Dell XPS 13 Display Assembly Replacement: 手順 0、 3の画像 1 Dell XPS 13 Display Assembly Replacement: 手順 0、 3の画像 2 Dell XPS 13 Display Assembly Replacement: 手順 0、 3の画像 3
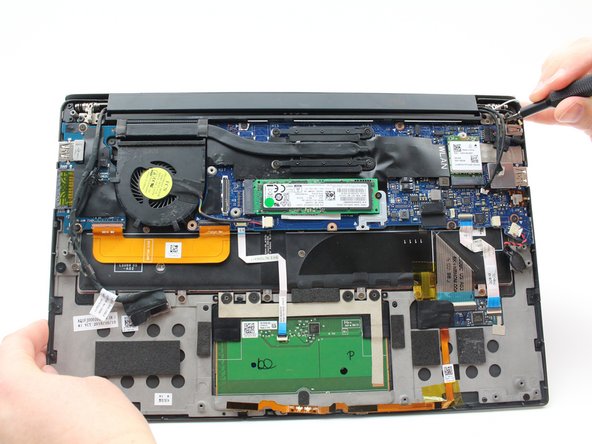
  • Remove the four, black 4.6 mm screws from the display mounts using a Phillips #0 screwdriver.

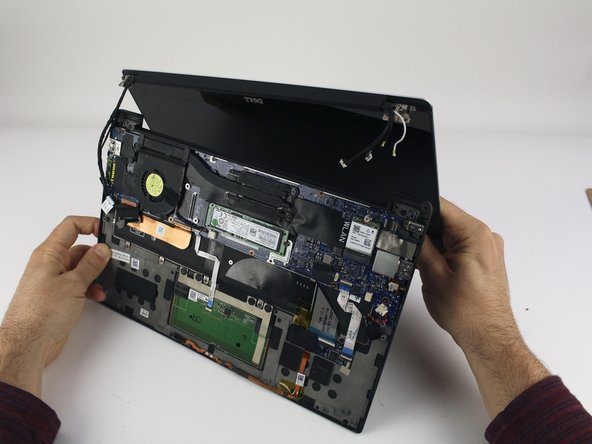
  • The laptop needs to be open for the display to clear the cutouts of the bottom case, so you may find it easier to remove the screws while already in an open configuration.

  • Remove the display assembly.

ここに翻訳を挿入する

ここに翻訳を挿入する

ここに翻訳を挿入する

クリエイティブコモンズのオープンソース著作権のもと、あなたの投稿は著作権の対象となります