必要な工具と部品
-
-
First, pry off the outer yellow casing using the blue plastic prying tool provided in the kit.
-
Wedge the flat edge of the pry tool in the slit and use leverage to push the casing upwards and pop it off in multiple places across the top and side of the device.
-
This should reveal the inner workings of the tablet, be careful as the volume and power buttons may fall out in the process. The speaker will also still be attached to the case by wires as shown.
 FixBotに聞いてみる
-
-
-
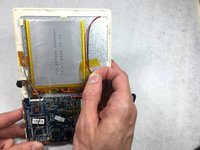
Once the casing is off, carefully pull the speaker out of its plastic holding slot, be careful not to separate the connections to the wires.
-
-
-
-
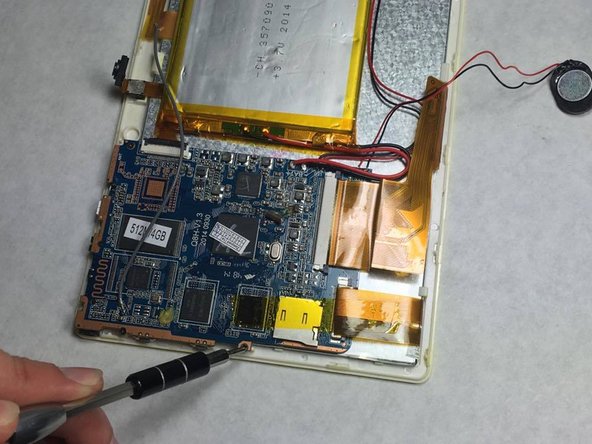
Next, remove the 4 screws that hold the mother board in place. Allowing the motherboard to wiggle in place.
-
-
-
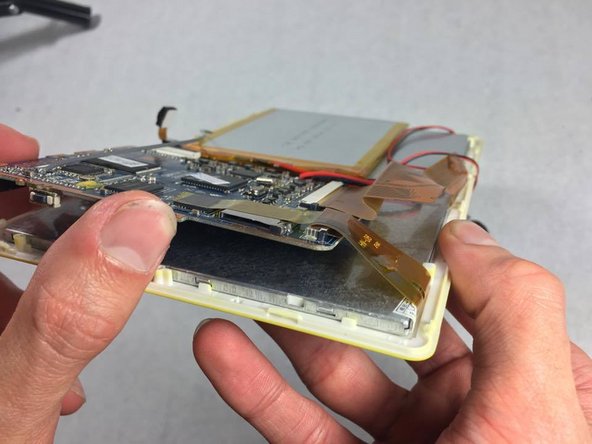
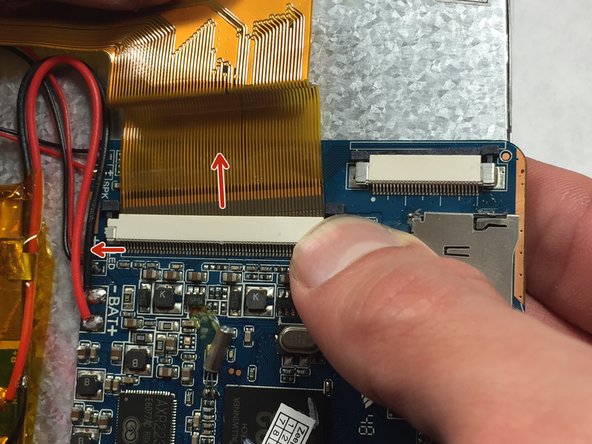
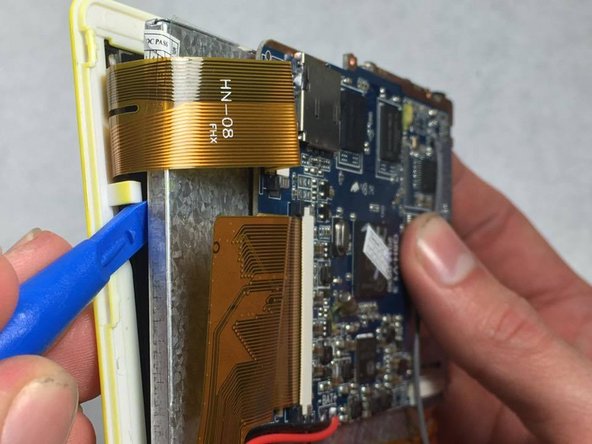
Now that the motherboard is disconnected, disconnect the longer flat cables by pushing the locks open and taking the cable out.
-
-
-
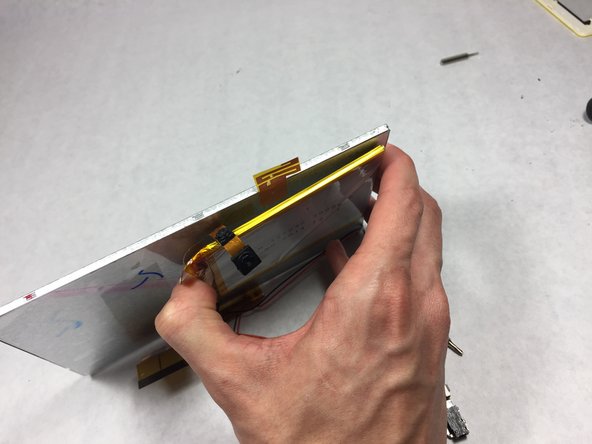
First, peel the clear yellow tape off to detach the battery from different wires and the metal.
-
Next, peel the battery off the double sided tape to remove it from the metal.
-
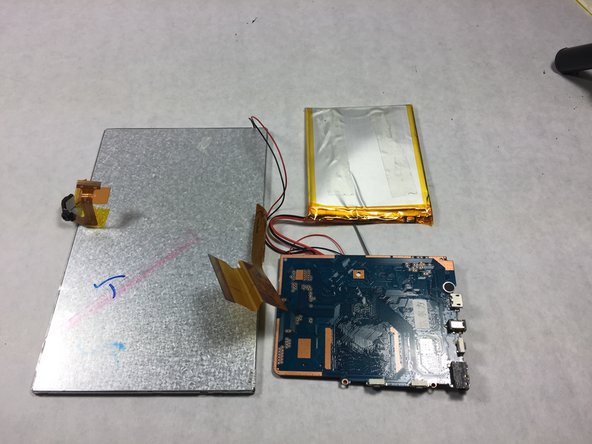
Both the battery and and the motherboard will still be attached to some wires, these wires are soldered connections, do your best to avoid breaking these connections.
-
-
-
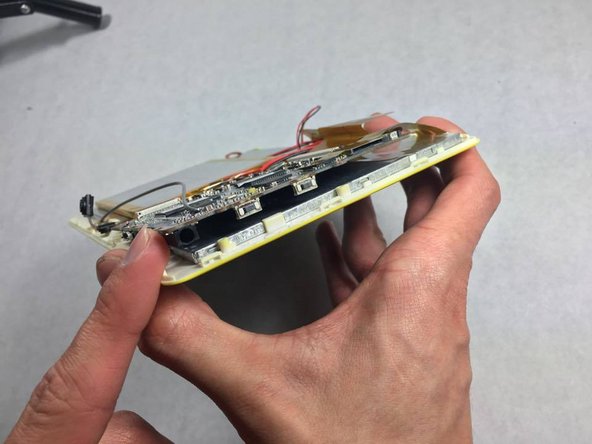
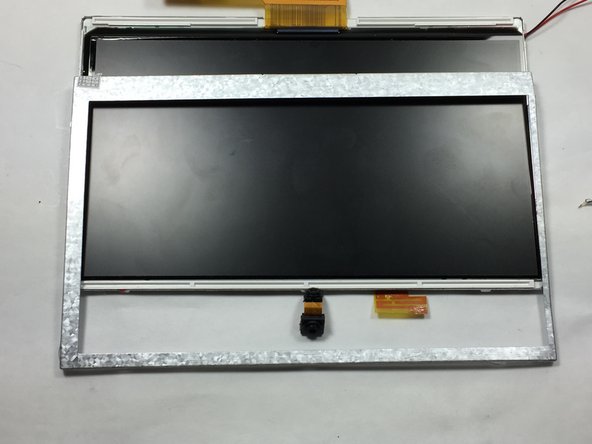
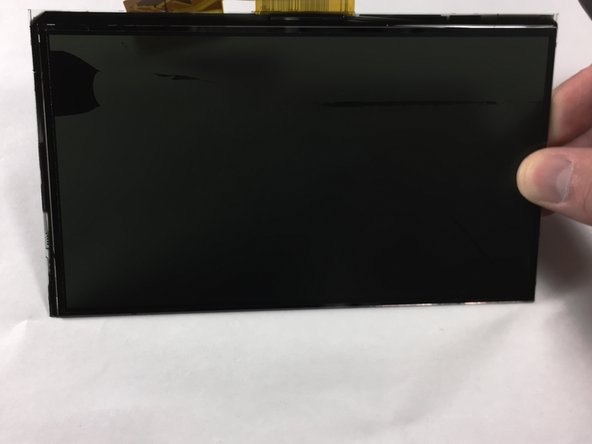
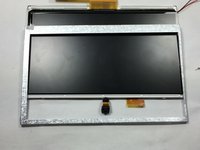
Use the metal prying tool to remove the metal casing from around the LED screen
-
Replace the screen
-


To reassemble your device, follow these instructions in reverse order.
ある他の人がこのガイドを完成しました。
チーム

UMass Dartmouth, Team 6-8, Martin Fall 2016 UMass Dartmouth, Team 6-8, Martin Fall 2016人のメンバー
UMASSD-MARTIN-F16S6G8
3 メンバー
10のガイドは作成済み
2件のガイドコメント
Where did you or can I buy the replacement screen. Please email response to PhillipsT052163@gmail.com.
Thank You & God Bless!
Theresa Phillips
where and how do i get this replacement screen for the zeepad 7dr-q