はじめに
This is a general disassembly, mainly intended for replacement of the LCD / screen assembly. My first guide on iFixit so please be gentle. :) If you are looking for the LCD assembly, we have them available for sale, with fast shipping from California.
必要な工具と部品
-
-
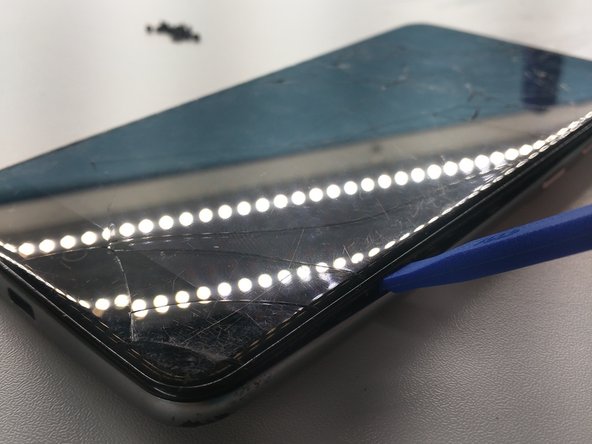
Pry rear cover off starting at the corner
-
Continue down the side
-
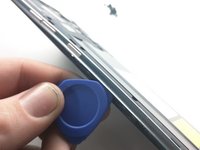
Lift rear cover off
 FixBotに聞いてみる
-
-
-
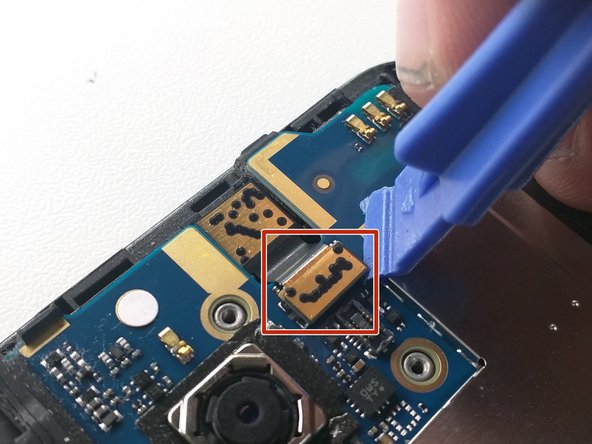
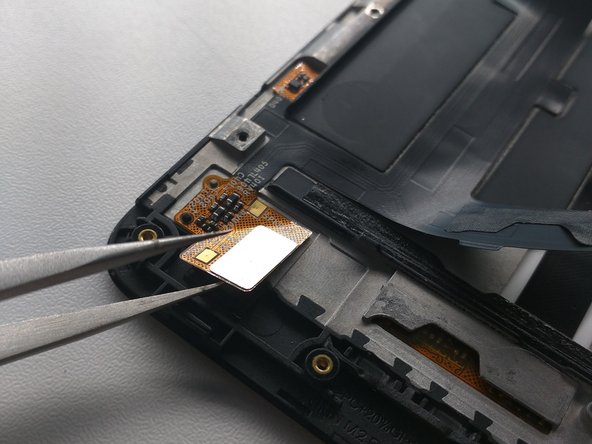
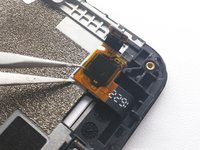
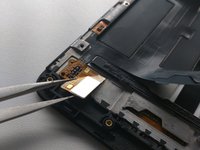
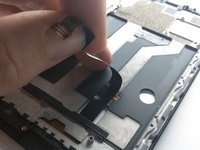
Remove Kapton tape covering fingerprint scanner cover
-
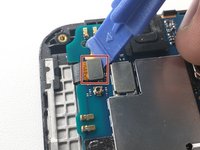
Unscrew two screws holding on fingerprint scanner flex cover
-
Disconnect fingerprint sensor flex cable and set rear cover aside.
-
-
-
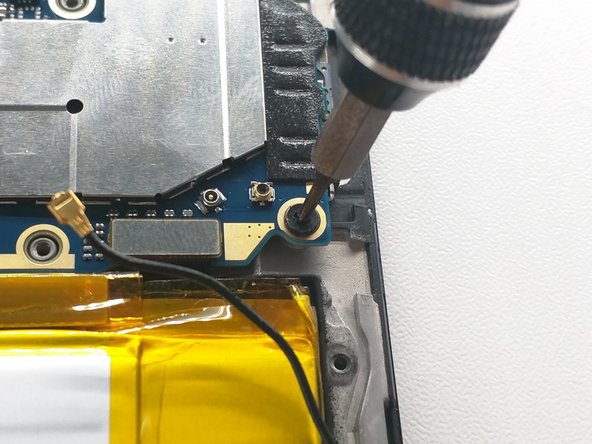
Remove the 15 Phillips 00 screws securing the midframe to the phone.
-
-
-
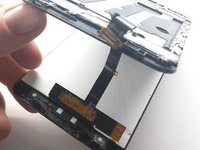
Carefully insert pry tool on side of phone between LCD and frame
-
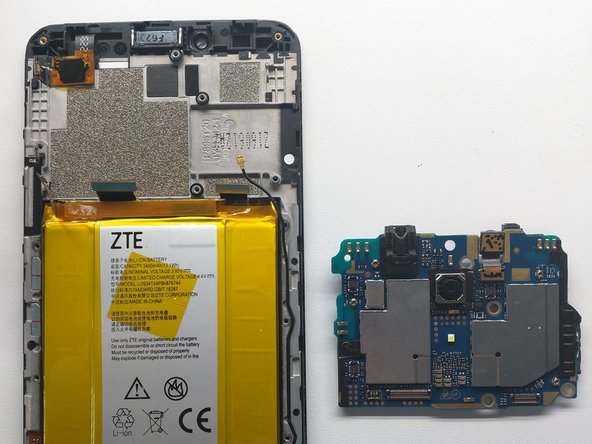
Continue down the side the phone and around the edges until frame and LCD assembly are separated
-
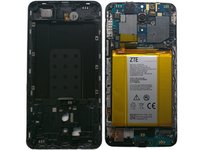
Ta-da!
-
-
-
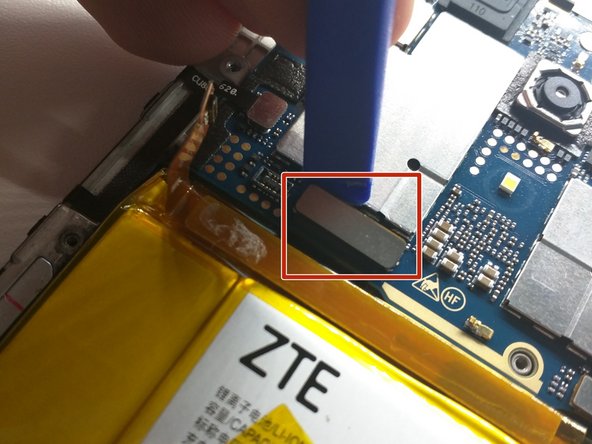
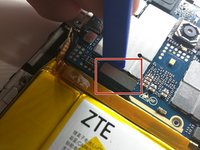
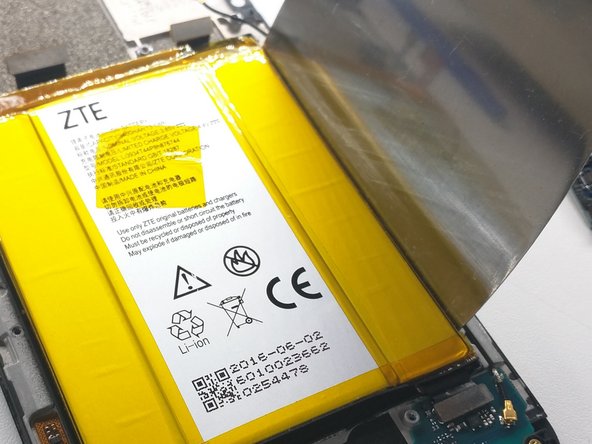
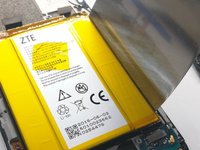
Remove Kapton tape over battery plug
-
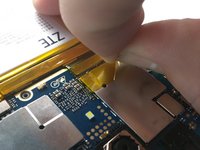
Disconnect battery
-
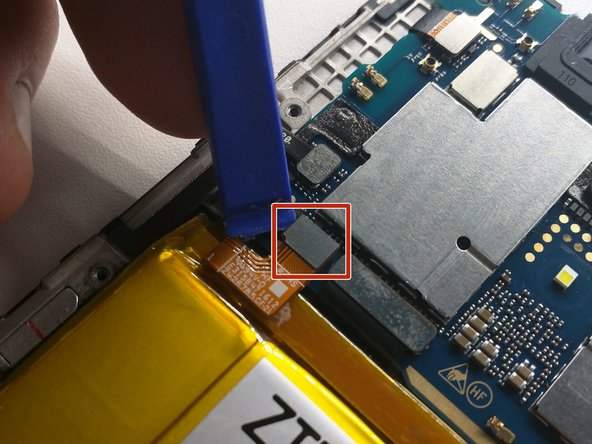
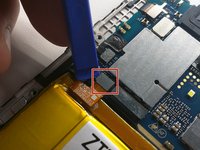
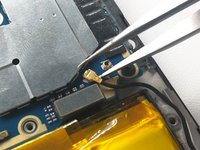
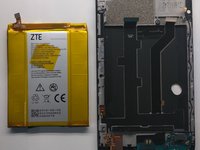
Disconnect this other flex cable above the battery, whatever it goes to
-
-
-
-
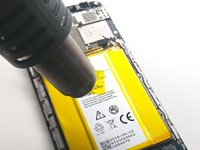
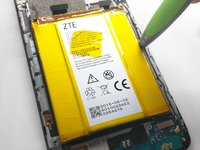
Once you have found the proper tool, begin prying up on either side of the battery.
-
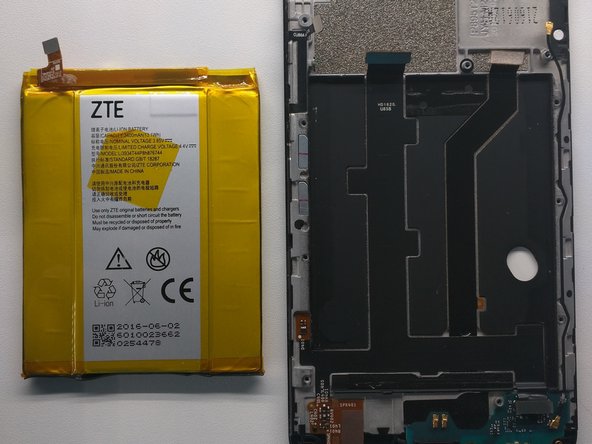
Finally, bend the battery back into shape so it doesn't look too bad in your photos.
-
-
-
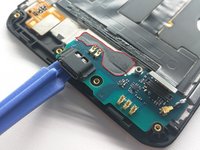
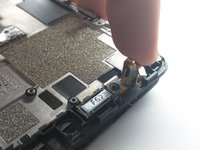
Remove tape holding charging board down (red outline)
-
Pry up charging port / antenna daughterboard.
-
Remove from frame and set aside
-
-
-
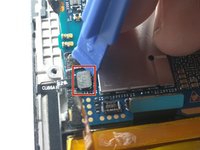
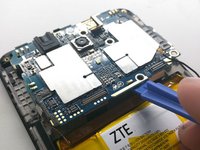
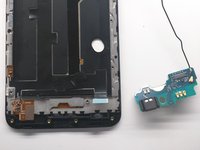
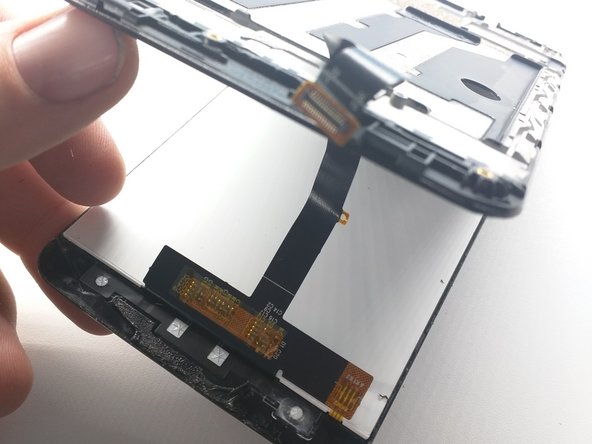
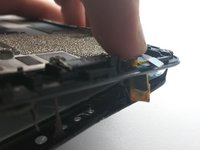
Lift up digitizer flex cable from frame
-
Peel up this flex cable and tweezer it off where it's stuck to the frame
-
Peel up the LCD flex cable
-
-
-
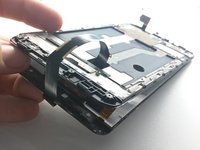
Slide something in between the screen and frame.
-
Separate LCD assembly from frame, starting at the bottom.
-


To reassemble your device, follow these instructions in reverse order.
92 の人々がこのガイドを完成させました。
48件のガイドコメント
Does the digitizer snap in? Or will I need adhesive to install my new digitizer?? Other phones that I have replaced the digitizer I needed adhesive, but I know some just snap in. I'm hoping this is one of those that just snap in.
With this phone, you would need new adhesive. I would recommend using the 2mm Tessa 61395 tape ( Tesa 61395 Tape )
Nate Evans - 返信 共有
So is it even possible to actually just replace the digitizer? Because it seems like in getting it out I took the lcd with it?? is that "always" the case???
The digitizer may be built into the LCD panel it self, it's not uncommon. If that's the case, no, it would not be possible to replace just the digitizer. And the cost to difficulty ratio would be rather low
Nate Evans - 返信 共有