この翻訳は機械によって生成されたものであり、まだ人間による校正は行われていません。 この言語を話せますか? レビューはこちら.
はじめに
この修理ガイドでは、ZTE Boost MAXのスクリーンを交換する方法と、分解の手順を説明します。
必要な工具と部品


 FixBotに聞いてみる


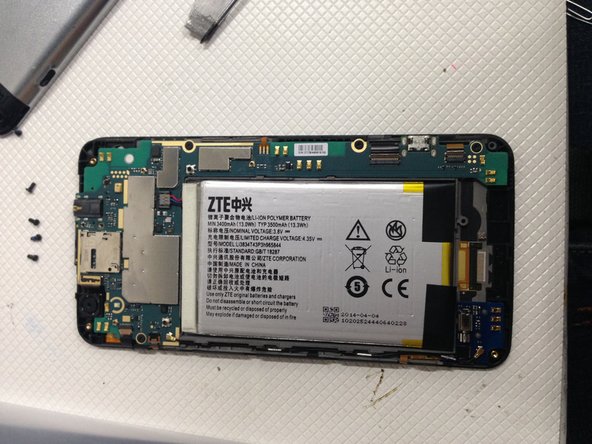
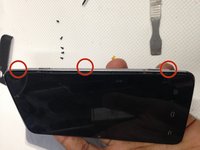


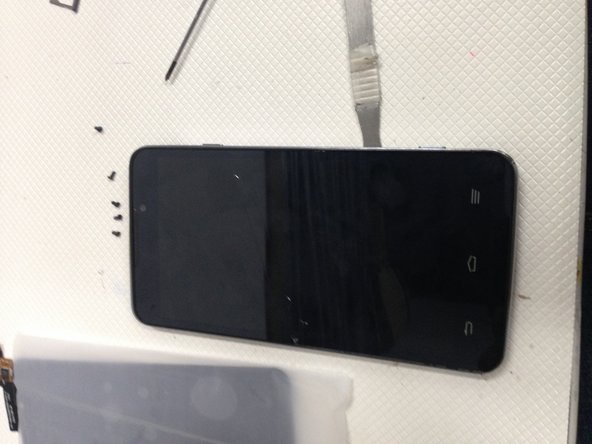
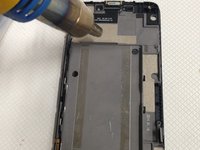
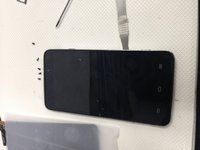

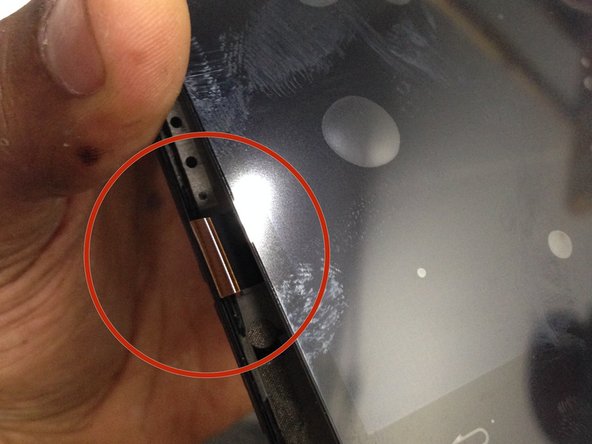
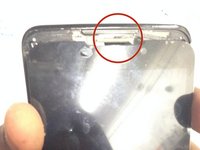
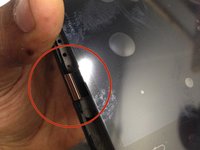
デバイスを再組み立てするには、これらのインストラクションを逆の順番に従って作業を進めてください。
34 の人々がこのガイドを完成させました。
以下の翻訳者の皆さんにお礼を申し上げます:
100%

Translation Botさんは世界中で修理する私たちを助けてくれています! あなたも貢献してみませんか?
翻訳を始める ›

11件のガイドコメント
So how do you get the battery connector unplugged?
take a small flat head screw driver stick it under the white connector (from the side that has the red wire) pry upwards and it will come off. its wedged into the plastic encasing. dont stick the Flathead in all the way you might damage the connectors underneath.
h2kwireless - 返信 共有
Use the black tabs stuck on the bottom of the battery to lift the battery up... assuming you have removed all bolts and flat cables as instructed up to this point. when you do this, work it back and forth applying heat from a heat gun or hair dryer. the battery will eventually give way and you can take the entire circuit board and battery and lay it over on its backside next to the screen.
Take your heat gun or blow dryer and apply heat to the volume buttons still stuck to the side of the screen, remove the buttons.
Now apply a great amount of heat, front and back, until it's very warm to the touch, push through the small holes located on the back of the screen housing to apply pressure on the back of the screen. Keep applying pressure to those holes and eventually the screen will start to give way enough to get a spudger in and work the screen the rest of the way out.
dude I can not get this battery out I'm afraid to apply to much heat to it I don't want the battery to explode on me lol, how much heat can this battery take?
