この修理ガイドは変更されています。最新の未承認バージョンに切り替えます。
はじめに
As the tablet ages, the battery pack will steadily degrade in its ability to hold a charge due to constant discharging and recharging. Eventually it will not be able to retain enough charge to power the tablet and will have to be replaced. While replacing the battery pack is a relatively straight forward task, care must be taken when handling the battery pack. The pack is made up of a lithium-ion compound in a flexible mylar jacket which can allow internal battery components to come in contact with each other causing a potentially dangerous chemical reaction. Also, the mylar jacket is vulnerable to damage which could allow the internal chemicals to leak out.
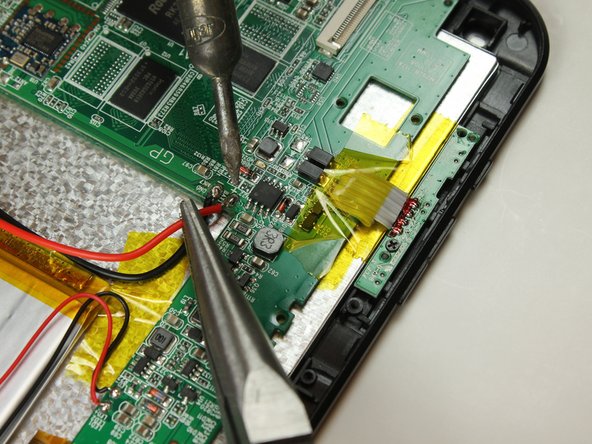
Since the motherboard will be exposed, care should be taken to prevent short circuiting the power leads from the battery or allowing static electricity to damage the motherboard. An antistatic mat should be used if available.
必要な工具と部品
-
-
Remove the two 3 mm retaining screws from the side of the tablet with a Phillips #0 screwdriver.
-
-
-
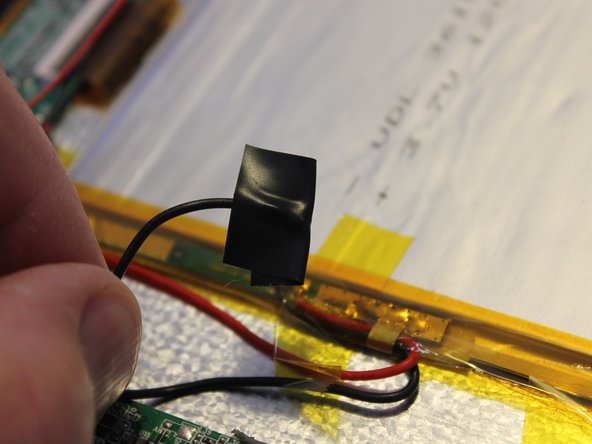
Locate where the wires from the battery pack connect to the motherboard
-
-
-
-
Apply a small amount of silicon glue to the new battery on the side it will come in contact with the screen back shield
-
Place the battery pack on the screen back shield inside the outline made previously
-
If the wire ends are not bare, strip about 3mm of insulation from the end. Start with the negative wire and wrap the bare end with electrical tape
-


To reassemble your device, follow these instructions in reverse order.
To reassemble your device, follow these instructions in reverse order.
チーム

Colorado Springs, Team 4-2, Panko Spring 2015 Colorado Springs, Team 4-2, Panko Spring 2015人のメンバー
UCCS-PANKO-S15S4G2
3 メンバー
12のガイドは作成済み