メインコンテンツにスキップ
リペアコミュニティに参加 - アカウントの作成

Wintec Filemate Clear 7" Charging Pin Replacement

    1. Wintec Filemate Clear 7" Charging Pin Replacement, Remove the Backplate: 手順 1、 1の画像 1
      • Locate the four corners of the backplate.

      FixBotに聞いてみる

      コメントを追加

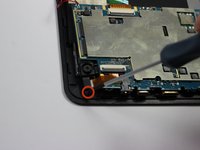
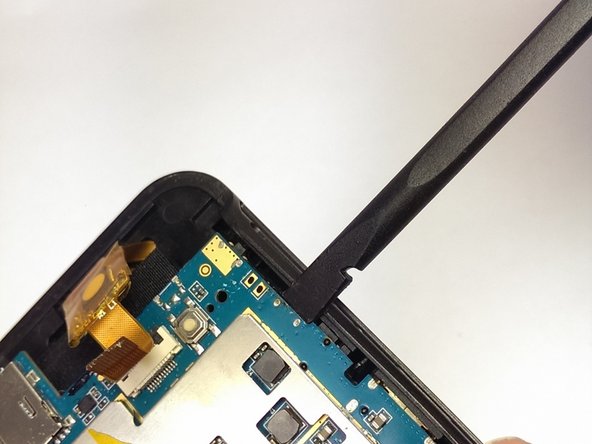
    2. Wintec Filemate Clear 7" Charging Pin Replacement: 手順 2、 2の画像 1 Wintec Filemate Clear 7" Charging Pin Replacement: 手順 2、 2の画像 2
      • Pry off the backplate by inserting a spudger or plastic opening tool into each corner and popping them open.

      FixBotに聞いてみる

      コメントを追加

    1. Wintec Filemate Clear 7" Charging Pin Replacement, Remove the Battery: 手順 3、 1の画像 1
      • Un-stick the battery from the motherboard assembly with the plastic opening tool.

      FixBotに聞いてみる

      コメントを追加

    2. Wintec Filemate Clear 7" Charging Pin Replacement: 手順 4、 1の画像 1
      この手順で使用する道具:
      Tweezers
      $4.99
      • Desolder the battery wires from the motherboard.

      • The tweezers pictured point to the two solder joints.

      FixBotに聞いてみる

      コメントを追加

    3. Wintec Filemate Clear 7" Charging Pin Replacement: 手順 5、 1の画像 1
      • Fully remove the battery from the device.

      FixBotに聞いてみる

      コメントを追加

    1. Wintec Filemate Clear 7" Charging Pin Replacement, Motherboard: 手順 6、 1の画像 1
      • Locate each of the motherboard's 4 mm screws.

      FixBotに聞いてみる

      コメントを追加

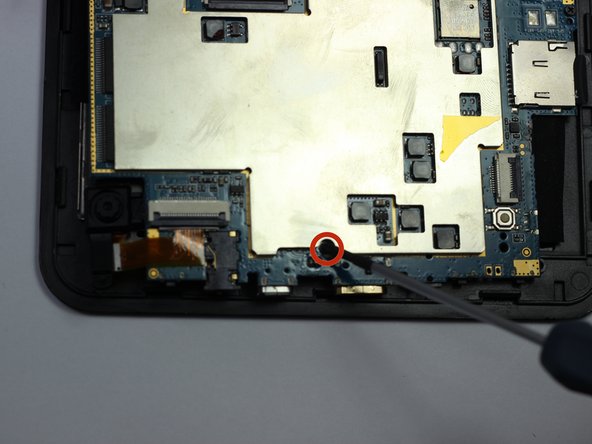
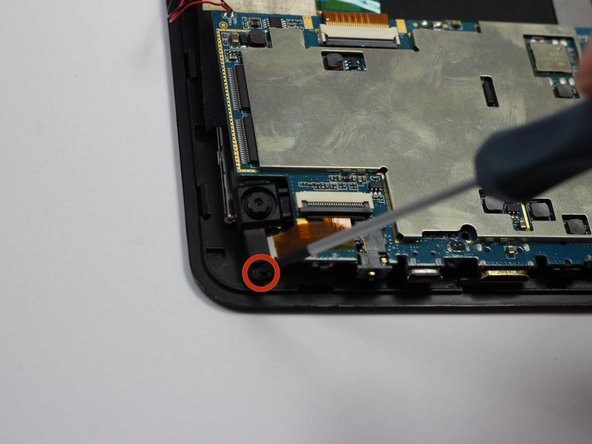
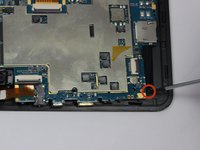
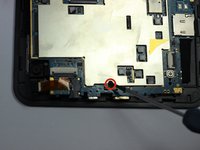
    2. Wintec Filemate Clear 7" Charging Pin Replacement, Unscrewing Everything: 手順 7、 3の画像 1 Wintec Filemate Clear 7" Charging Pin Replacement, Unscrewing Everything: 手順 7、 3の画像 2 Wintec Filemate Clear 7" Charging Pin Replacement, Unscrewing Everything: 手順 7、 3の画像 3
      • Remove each of the four 4 mm screws from the motherboard pictured to the left.

      • Use a Phillips #00 precision screwdriver.

      FixBotに聞いてみる

      コメントを追加

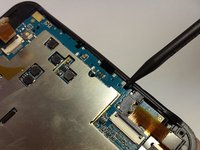
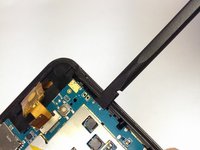
    3. Wintec Filemate Clear 7" Charging Pin Replacement, Detach the Motherboard: 手順 8、 2の画像 1 Wintec Filemate Clear 7" Charging Pin Replacement, Detach the Motherboard: 手順 8、 2の画像 2
      • Use the spudger to pry the instrument array from its plastic housing.

      FixBotに聞いてみる

      コメントを追加

    4. Wintec Filemate Clear 7" Charging Pin Replacement: 手順 9、 1の画像 1
      • Slowly slide the spudger underneath the adhesive tape to un-sitck it.

      • Be careful not to harm the array of wires leading to this tape.

      FixBotに聞いてみる

      コメントを追加

    5. Wintec Filemate Clear 7" Charging Pin Replacement: 手順 10、 1の画像 1
      この手順で使用する道具:
      Tweezers
      $4.99
      • De-tatch the motherboard output wires from the screen using the tweezers.

      FixBotに聞いてみる

      コメントを追加

    1. Wintec Filemate Clear 7" Charging Pin Replacement, Remove the Charging Pin: 手順 11、 1の画像 1
      この手順で使用する道具:
      Tweezers
      $4.99
      • Remove the charging pin holster.

      • Clamp on the end of the holster with the tweezers and twist until it becomes detached.

      • Repeat for the other side.

      FixBotに聞いてみる

      コメントを追加

    2. Wintec Filemate Clear 7" Charging Pin Replacement: 手順 12、 1の画像 1
      • Clamp onto the charging pin and twist up until it pops out of place.

      FixBotに聞いてみる

      コメントを追加

終わりに

To reassemble your device, follow these instructions in reverse order. The charging pin holster needs to be soldered back into place.

キャンセル: このガイドを終了できませんでした。

ある他の人がこのガイドを完成しました。

作成者

5人の作成者と共同で作成されました。

Nicholas Ferraro

メンバー登録日: 01/20/15

431 ポイント

6のガイドは作成済み

チーム

USF Tampa, Team 19-6, Blackwell Spring 2014 USF Tampa, Team 19-6, Blackwell Spring 2014人のメンバー

USFT-BLACKWELL-S14S19G6

3 メンバー

11のガイドは作成済み

0件のガイドコメント

コメントを追加

統計データ:

過去 24時間: 0

過去 7 日: 3

過去 30 日: 14

今までの合計 335