はじめに
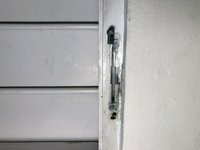
Use this guide to replace a warped or broken window operator link in your awning window.
The window operator is a mechanical piece that enables the opening and closing of an awning window easily. Warped or broken links on a window interfere with the opening and closing of the window. The links are inexpensive to replace, and this fix can be done in a matter of minutes. Additionally, repairing a warped link can help to minimize a functioning window operator waste.
Before using this guide, make sure to verify if the damaged part is the link and not the operator. Sometimes the aluminum window bents from the outside due to slams from tree branches, kids playing outside, etc. That could mean that the operator and the link are functioning well, but the window is stuck close. That can be resolved by finding the bent and with some pliers unbending the piece into its original state.
In Step 3, make sure that you hold the self-retaining nut from the window operator. Since the nut is a small piece, it may be prone to being misplaced. Also, the window operator can be stuck in place, after removing the bolts you can gently tap the operator to make it loose.
Make sure you have the correct window operator link length before starting this guide.
必要な工具と部品
-
この手順で使用する道具:Flathead 4 mm Screwdriver$1.99
-
Remove the four (4) window clips that holds the screen.
-
Use the Flathead 4 mm Screwdriver to loosen the clip. The clip doesn't need to be removed.
-
Remove the screen and put it aside.
 FixBotに聞いてみる
-
-
この手順で使用する道具:Metal Spudger$2.99
-
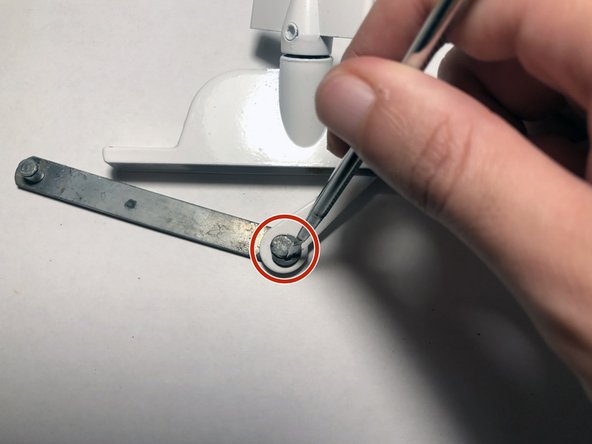
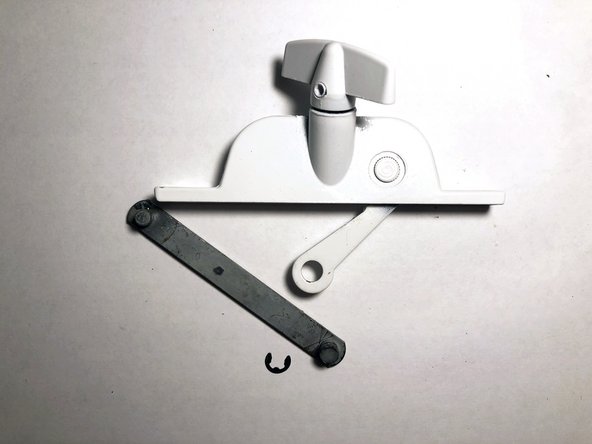
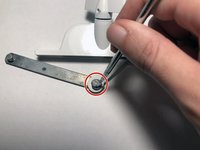
Remove e-clip from the window link, use the [リンクされた製品が存在しない、もしくは無効: IF145-024] to remove it.
-
-
-
-
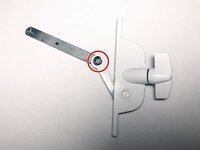
Using the Phillips #2 Screwdriver , remove the two bolts that are holding the operator into the window frame.
-
-
この手順で使用する道具:Metal Spudger$2.99
-
Once the operator is removed, you can use a Metal Spudger or a Flathead 4 mm Screwdriver to force the e-clip out of the operator arm.
-


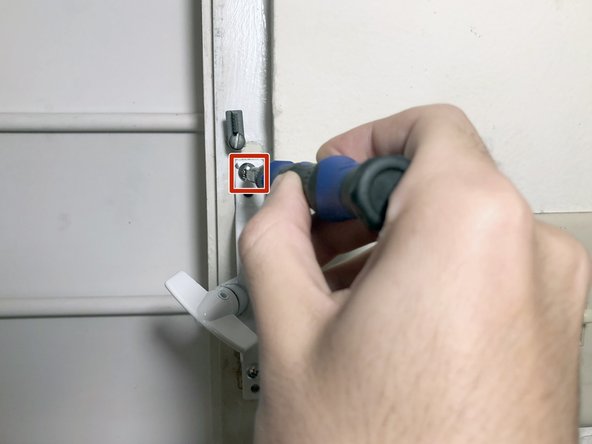
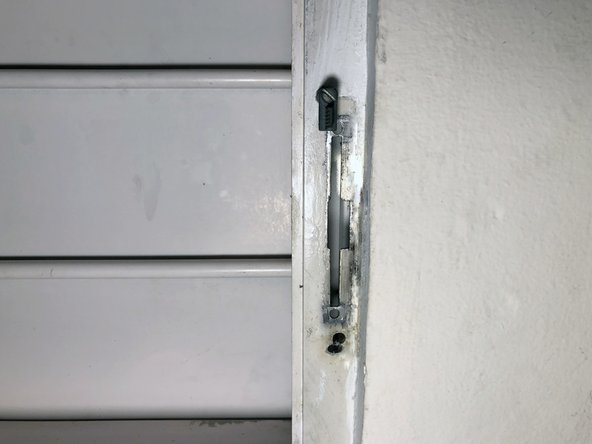

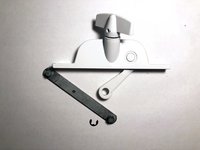

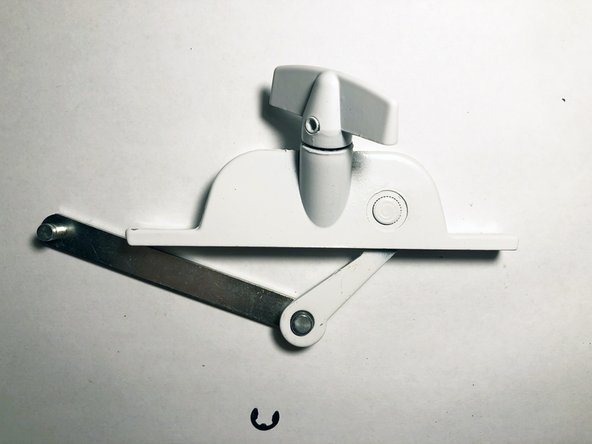
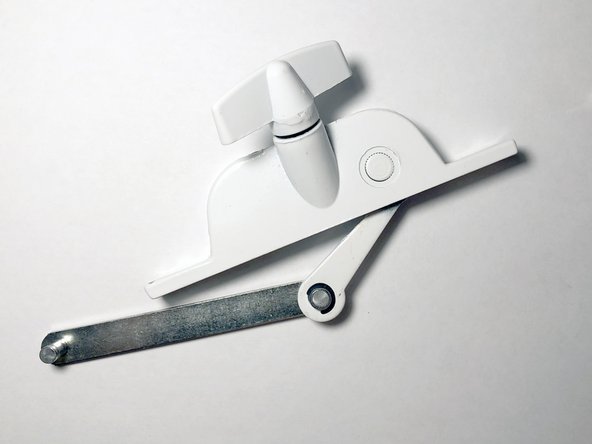
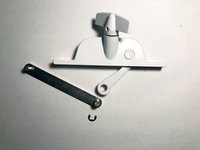
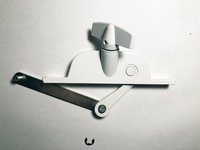
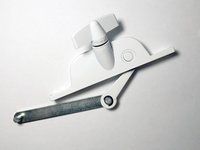
To reassemble your device, follow from step three (3) to one (1) in reverse order.

チーム

University of Puerto Rico Mayagüez, Team 1-8, Cools Stephens Fall 2021 University of Puerto Rico Mayagüez, Team 1-8, Cools Stephens Fall 2021人のメンバー
UPRM-COOLS STEPHENS-F21S1G8
1 メンバー
2のガイドは作成済み
