はじめに
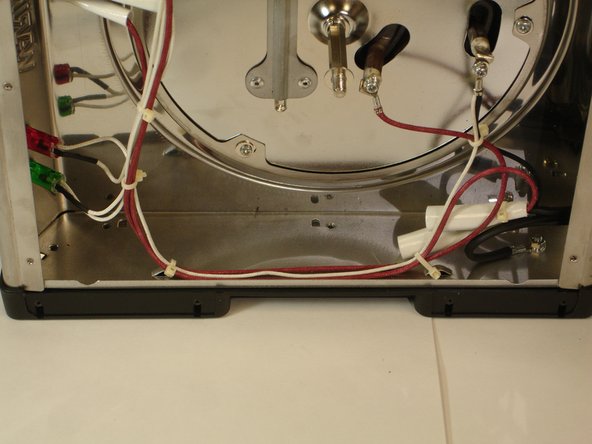
The plastic sides can become damaged, melted or warped when using a pot larger than the burner. So be sure to remove the back panel first before pulling these sides off.
The screws are located along the interior sides of the metal frame, so consider wearing gloves when removing the screws to avoid cuts from the sharp edges.
必要な工具と部品
-
-
Remove the screws on the back panel with the #1 Phillips screwdriver bit.
-
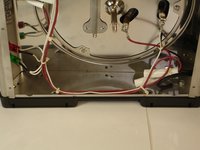
The screws in the rubber legs of the burner do not need to be removed.
 FixBotに聞いてみる
-
-
-
-
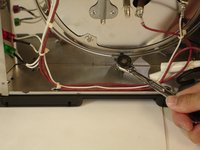
Using a #1 Phillips screwdriver bit or a ratchet wrench with a Phillips screwdriver bit to remove screws located on the interior frame.
-


To reassemble your device, follow these instructions in reverse order.
チーム

USF Tampa, Team 10-7, Brown Fall 2014 USF Tampa, Team 10-7, Brown Fall 2014人のメンバー
USFT-BROWN-F14S10G7
3 メンバー
10のガイドは作成済み