はじめに
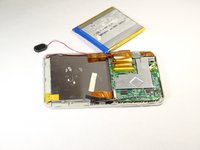
If you are experiencing problems with your device's front or rear camera, this guide will help you to remove and replace the faulty part. Both cameras are connected and are removed simultaneously.
必要な工具と部品
-
-
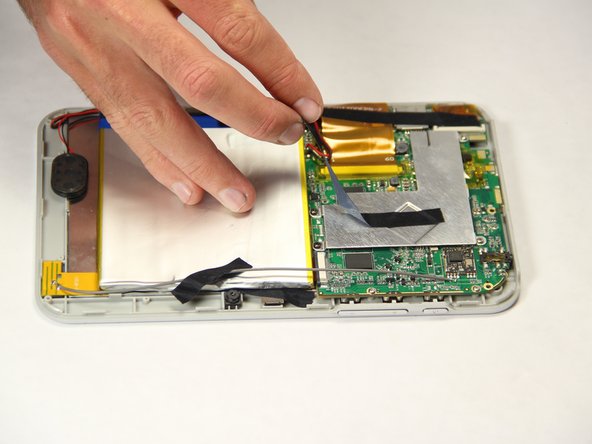
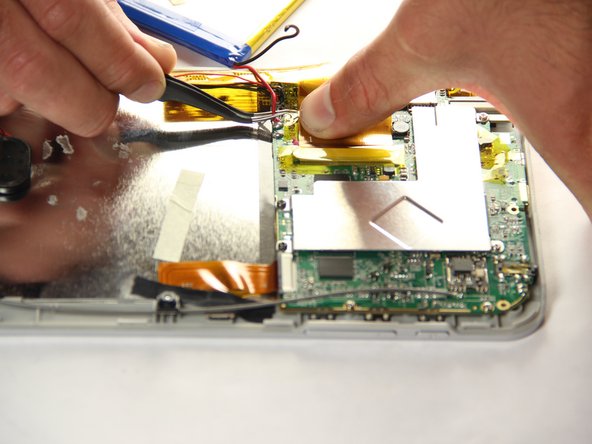
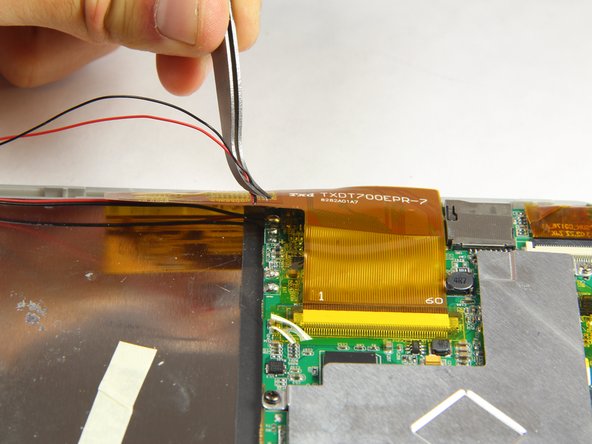
この手順で使用する道具:Tweezers$4.99
-
With the tweezers, firmly grab the wire at the base and pull to disconnect the battery from the motherboard.
-
-
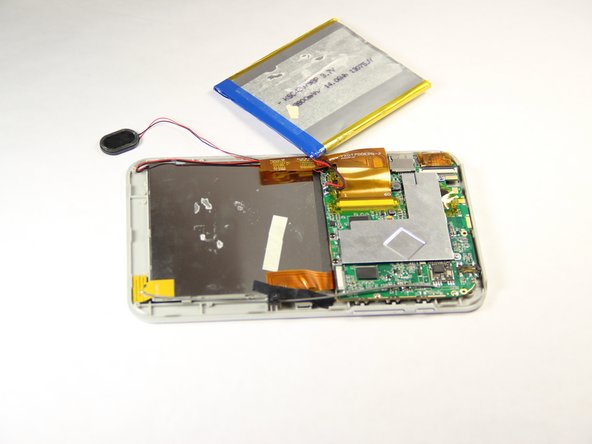
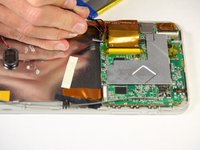
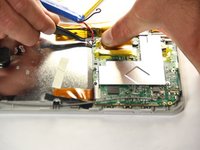
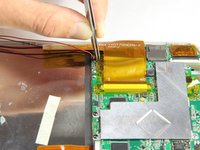
この手順で使用する道具:Tweezers$4.99
-
Using the tweezers, firmly grab wires and pull to disconnect them from the motherboard.
-


終わりに
To reassemble your device, follow these instructions in reverse order.
チーム

USF Tampa, Team 11-1, Blackwell Winter 2015 USF Tampa, Team 11-1, Blackwell Winter 2015人のメンバー
USFT-BLACKWELL-W15S11G1
4 メンバー
10のガイドは作成済み