メインコンテンツにスキップ
リペアコミュニティに参加 - アカウントの作成

Velocity Micro Cruz Camera Replacement

必要な工具と部品

    1. Velocity Micro Cruz Camera Replacement, Remove the Back: 手順 1、 1の画像 1
      • Using one of the plastic opening tools, separate the plastic back from the tablet in one spot.

      • Gently work the tool around the diameter of the tablet until the back pops completely off.

      FixBotに聞いてみる

      コメントを追加

    2. Velocity Micro Cruz Camera Replacement, Accessing the Camera: 手順 2、 2の画像 1 Velocity Micro Cruz Camera Replacement, Accessing the Camera: 手順 2、 2の画像 2
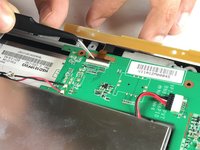
      • Locate the camera as illustrated. Remove the 3 black screws at the top of the tablet.

      • Gently pull back the yellow piece so that the camera may be accessed.

      FixBotに聞いてみる

      コメントを追加

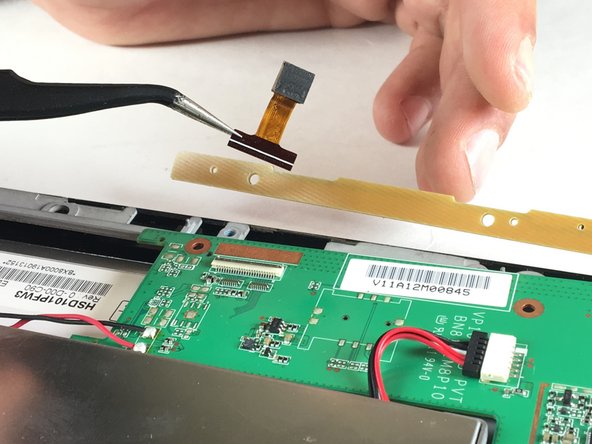
    3. Velocity Micro Cruz Camera Replacement, Remove the Camera: 手順 3、 2の画像 1 Velocity Micro Cruz Camera Replacement, Remove the Camera: 手順 3、 2の画像 2
      この手順で使用する道具:
      Tweezers
      $4.99
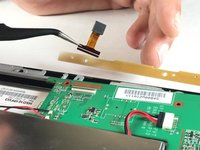
      • Use the tweezers to pull back the black latch on the motherboard that holds the camera.

      • Finally, use the tweezers to remove the camera from the motherboard.

      FixBotに聞いてみる

      コメントを追加

終わりに

To reassemble your device, follow these instructions in reverse order.

キャンセル: このガイドを終了できませんでした。

作成者

2人の作成者と共同で作成されました。

T Smith

メンバー登録日: 11/02/16

205 ポイント

2のガイドは作成済み

0件のガイドコメント

コメントを追加

統計データ:

過去 24時間: 1

過去 7 日: 7

過去 30 日: 26

今までの合計 337