メインコンテンツにスキップ

Toshiba Thrive Screen Replacement

必要な工具と部品

  1. Toshiba Thrive Screen Replacement, Back Cover: 手順 1、 1の画像 1
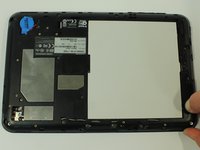
    • Make sure the lock switch for the back cover is unlocked.

    • The cover is unlocked when the switch is slid in the direction of the 'unlock' icon.

  2. Toshiba Thrive Screen Replacement: 手順 2、 2の画像 1 Toshiba Thrive Screen Replacement: 手順 2、 2の画像 2
    • Remove back cover by prying away from the Thrive.

    • The easiest place to pry from is one of the two speakers.

  3. Toshiba Thrive Screen Replacement: 手順 3、 1の画像 1
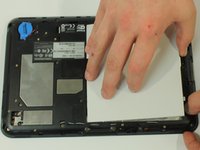
    • To remove the battery, make sure the lock switch is in the unlocked position.

    • The battery is unlocked when the switch is slid to the unlocked position.

  4. Toshiba Thrive Screen Replacement: 手順 4、 3の画像 1 Toshiba Thrive Screen Replacement: 手順 4、 3の画像 2 Toshiba Thrive Screen Replacement: 手順 4、 3の画像 3
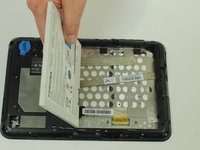
    • Slide the battery switch release to the right.

    • While holding the switch in place, lift up the battery.

  5. Toshiba Thrive Screen Replacement, Midframe: 手順 5、 2の画像 1 Toshiba Thrive Screen Replacement, Midframe: 手順 5、 2の画像 2
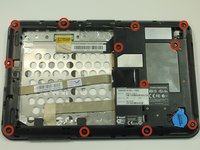
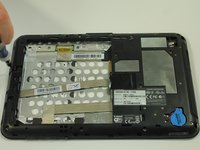
    • Start by using a screwdriver to remove the 12 screws holding on the back cover. The screws are 5mm in length and require a PH0 screwdriver.

    • All of these screws are identical so don't worry about getting them mixed up.

  6. Toshiba Thrive Screen Replacement: 手順 6、 3の画像 1 Toshiba Thrive Screen Replacement: 手順 6、 3の画像 2 Toshiba Thrive Screen Replacement: 手順 6、 3の画像 3
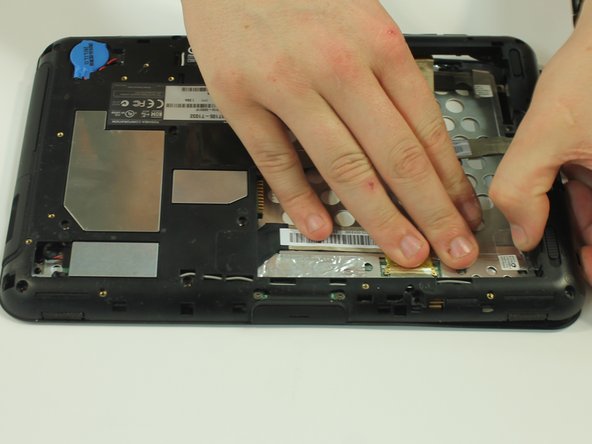
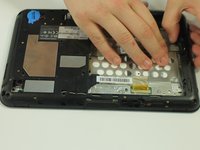
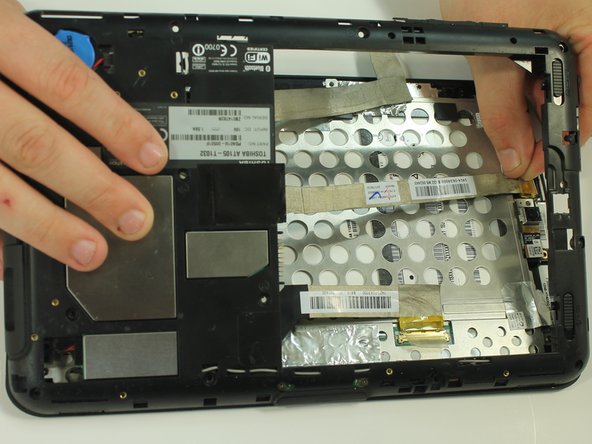
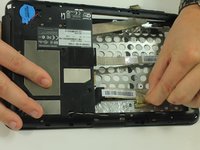
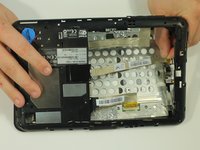
    • Start to gently pry the back of the device off, while leaving it loosely in place.

    • Be careful not to tear or damage the cables when removing the back.

  7. Toshiba Thrive Screen Replacement: 手順 7、 3の画像 1 Toshiba Thrive Screen Replacement: 手順 7、 3の画像 2 Toshiba Thrive Screen Replacement: 手順 7、 3の画像 3
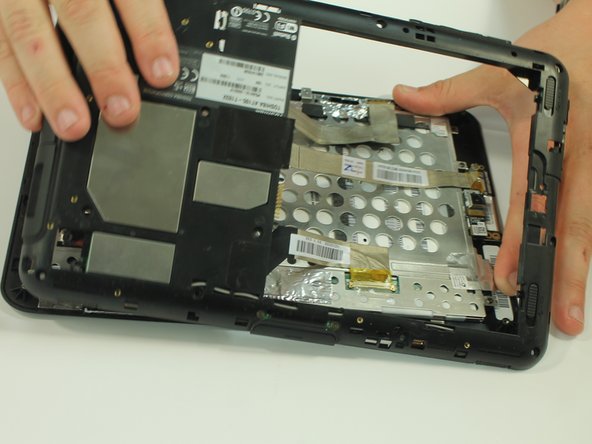
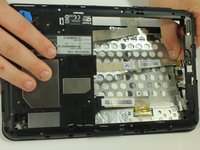
    • Once the back of the case is off, disconnect the wires by gently pulling on the plastic tabs as shown.

  8. Toshiba Thrive Screen Replacement: 手順 8、 2の画像 1 Toshiba Thrive Screen Replacement: 手順 8、 2の画像 2
    • Carefully open the device like a book and lay the two halves beside each other.

  9. Toshiba Thrive Screen Replacement, Front Camera: 手順 9、 2の画像 1 Toshiba Thrive Screen Replacement, Front Camera: 手順 9、 2の画像 2
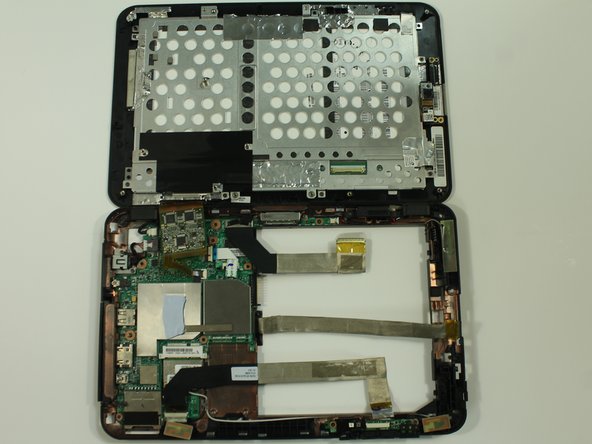
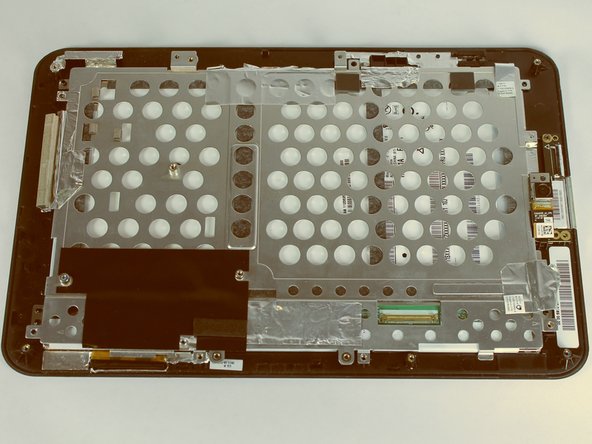
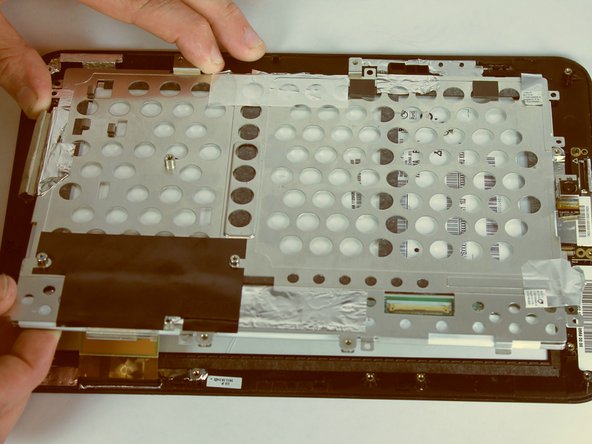
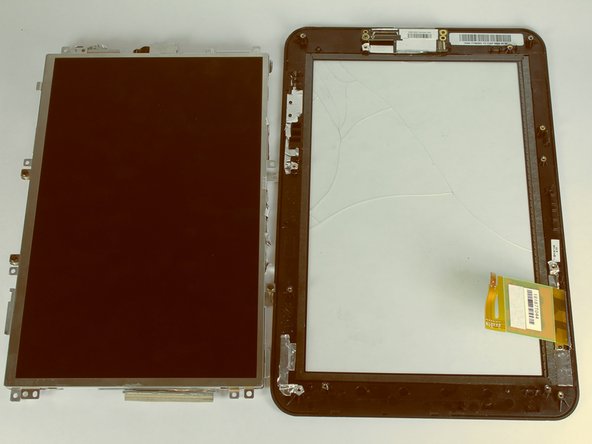
    • Separate the two halves of your Thrive

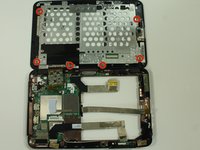
    • Using a Phillips screwdriver, remove the six screws holding the LCD in place. These screws are 3mm in length and require a PH0 screwdriver.

  10. Toshiba Thrive Screen Replacement: 手順 10、 1の画像 1
    • With a spudger, disconnect the cable connecting the camera to the motherboard.

  11. Toshiba Thrive Screen Replacement: 手順 11、 2の画像 1 Toshiba Thrive Screen Replacement: 手順 11、 2の画像 2
    • Lift up the LCD from the screen and place it on the side

  12. Toshiba Thrive Screen Replacement: 手順 12、 2の画像 1 Toshiba Thrive Screen Replacement: 手順 12、 2の画像 2
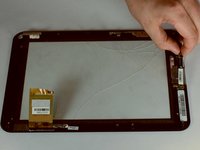
    • Remove the one screw holding the camera in place. The screw is 3mm in length and requires a PH0 screwdriver.

    • Lift up the camera from the screen.

終わりに

To reassemble your device, follow these instructions in reverse order.

4 の人々がこのガイドを完成させました。

作成者

3人の作成者と共同で作成されました。

Kason

メンバー登録日: 09/22/14

1,120 ポイント

5のガイドは作成済み

チーム

USF Tampa, Team 10-1, Brown Fall 2014 USF Tampa, Team 10-1, Brown Fall 2014人のメンバー

USFT-BROWN-F14S10G1

3 メンバー

12のガイドは作成済み

コメント 1 件

Indicate which tools are needed at the top of each guide.

Dan Brown - 返信

コメントを追加

統計データ:

過去 24時間: 0

過去 7 日: 0

過去 30 日: 3

今までの合計 1,624